If you've ever watched a pile of branches, shrubs, and smaller pieces pile up after a big cleanup, you've probably asked: Is there a better way to use all this? There is-and it starts with learning how to use wood chips as free mulch in your garden.
Used correctly, wood chips are one of the most powerful, free tools for building soil, suppressing weeds, and protecting your plants. Whether you get them from a tree company, a neighbor, or your own yard, this guide will show you exactly how to source, prepare, apply, and maintain wood chip mulch the right way.
For more creative projects, check out our 5 Genius Ways to Use Wood Chips Around the House That Will Surprise You for inspiration.
Key Takeaways
- Wood chips improve soil, boost moisture retention, suppress weeds, and feed beneficial fungi and microbes.
- You can often get free wood mulch from local tree companies, municipalities, or your own wood chipper.
- The key is knowing how to apply a proper mulch layer, when to use stump grindings, and which tree species to avoid.
- Over time, your garden beds will mimic the forest floor, with better water retention, fewer weeds, and healthier plants.

Benefits of Using Wood Chips as Mulch
Nature already figured this out: in a forest, no one fertilizes, weeds, or tills. Yet the soil is rich, balanced, and full of life. Why? Because fallen wood, leaves, and branches break down slowly, feeding the ecosystem.
Core benefits of wood chip mulch:
- Weed suppression - a thick mulch layer blocks light and prevents new seeds from sprouting.
- Moisture retention - protects soil from wind and sun, reducing evaporation and how often you need to water.
- Temperature regulation - keeps roots cooler in summer, warmer in winter, and prevents shock in young plants.
- Fungi and microbial health - the slow decay process feeds beneficial fungi that enhance nutrient cycling and plant immunity.
- Organic matter - as chips break down, they add carbon-rich material to your soil, building long-term fertility.
For anyone trying to go m is a game-changer.
Want to take control of your mulch supply? Learn how wood chippers help reduce yard waste and turn tree debris into garden gold.

How to Source Free Wood Chips
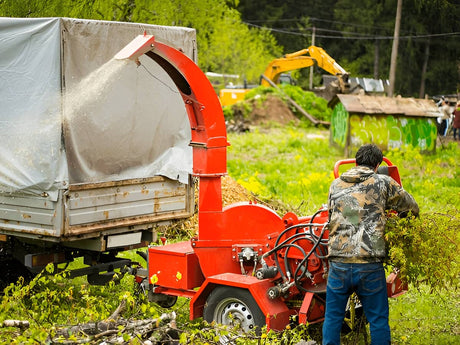
If you're not making your own with a wood chipper, there are plenty of other ways to get free wood mulch-especially if you live in a suburban area or near active tree services.
Best sources of free wood chips:
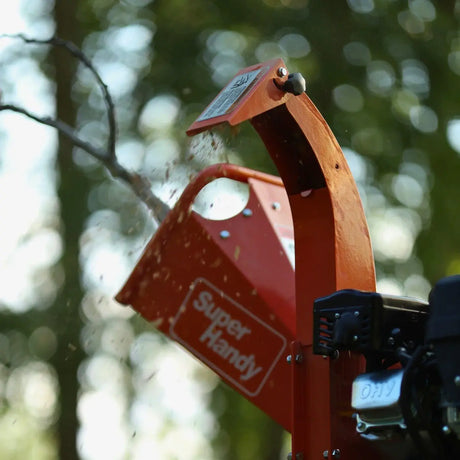
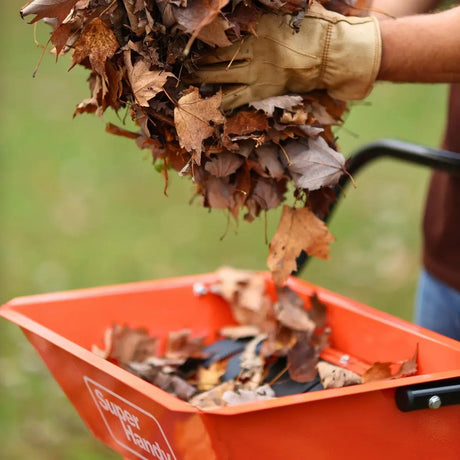
- Tree companies - Many offer to drop off a full load after jobs. These often include arborist wood chips, which contain bark, smaller branches, and leaves-ideal for mimicking a natural forest floor.
- Municipal recycling centers - Cities and towns often turn yard waste into mulch and let residents collect it for free.
- Online platforms - Use services like ChipDrop or local Facebook groups to request a pile of chips from a nearby tree removal job.
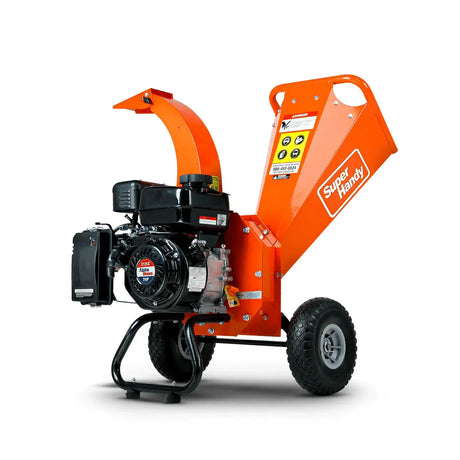
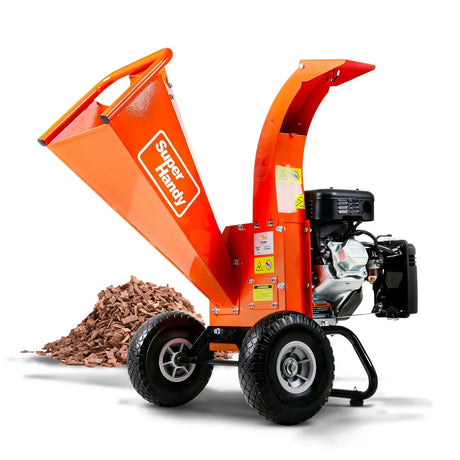
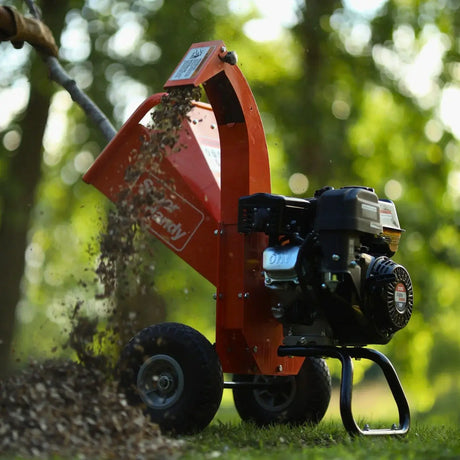
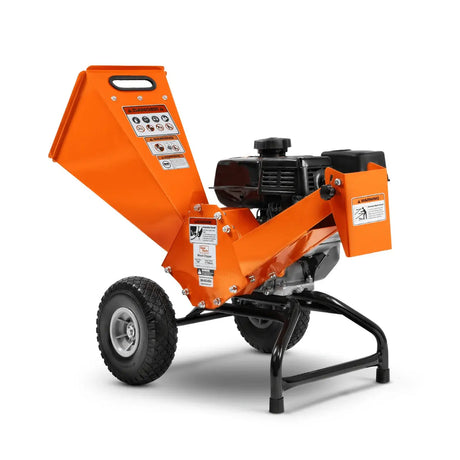
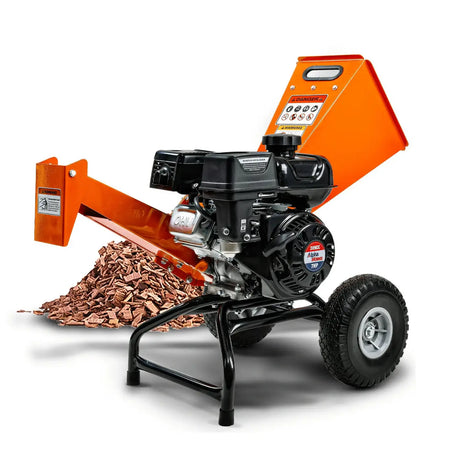
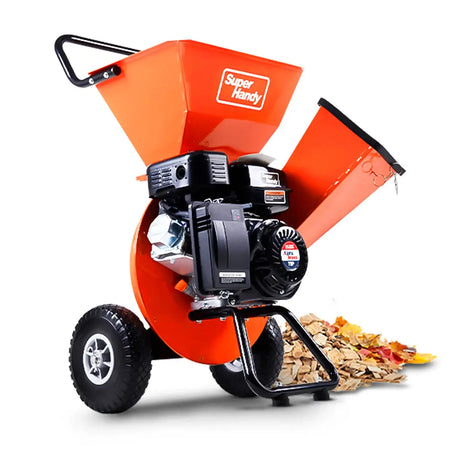
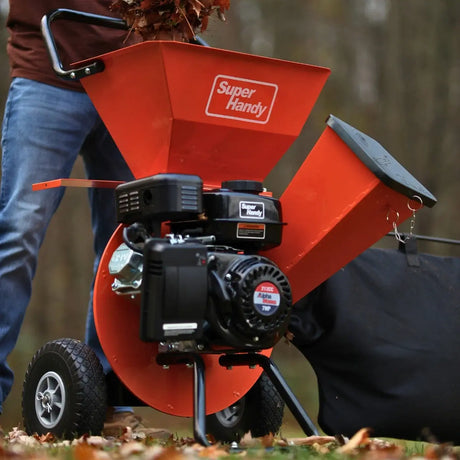
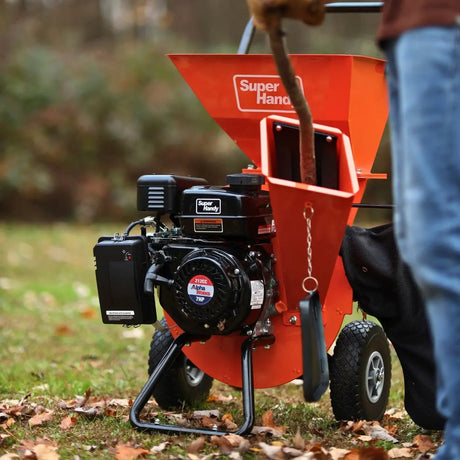
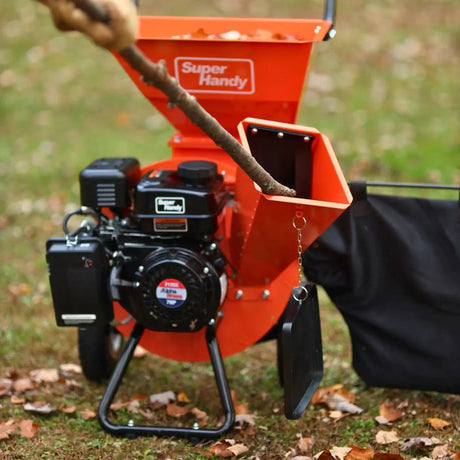
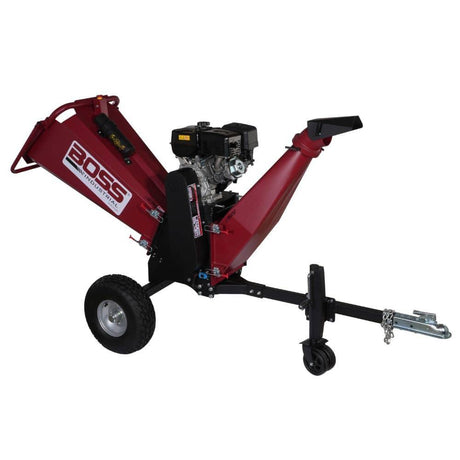
- Your own wood chipper - If you regularly trim trees or maintain your yard, investing in a wood chipper lets you control the material and avoid waiting for deliveries.
💡 Pro Tip: Want consistent access to clean, high-quality mulch? Buying your own wood chipper pays for itself fast-especially if you manage a large garden, homestead, or small orchard. You can process fresh branches, prune shrubs, and create mulch anytime you need it.
Not sure which model to get? Check out our 2025 guide to the best wood chippers for homeowners and pros.

Preparing Your Garden for Mulch Application
Before you spread your wood mulch, you need to prepare the ground properly. Skipping this step is why many folks don't get the full benefits.
Key steps:
- Clear weeds - Pull or hoe existing weeds before mulching. You don't want to trap living plants under the layer.
- Level the surface - Use a rake to smooth the area, which helps you apply an even thick layer of mulch.
- Water deeply - Soak the soil before mulching to trap that moisture.
- Lay a weed barrier (optional) - Cardboard or newspaper blocks stubborn seeds and eventually breaks down into organic matter.
- Around trees or shrubs, spread mulch in a donut shape, keeping it 2-3 inches away from the trunk to avoid rot.
If you're applying over a vegetable garden or around young plants, avoid a thick layer directly over their stems-they need airflow and light at the base.

Applying Wood Chips as Mulch
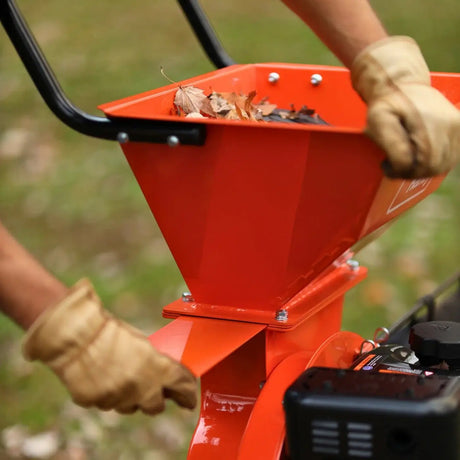
.You don't need fancy tools. A wheelbarrow, rake, and shovel are all it takes. And if you're making your own mulch, here’s how to use a wood chipper safely and efficiently.
How to apply:
- Load your mulch into a wheelbarrow and spread it with a rake.
- Use a layer 3-4 inches deep around garden beds, vegetables, and shrubs.
- For walkways, play areas, or forest mimicry zones, go up to 6-8 inches.
- Don't pile chips against trunks or bury small plants-leave breathing room.
🛠 If you're producing mulch yourself, chip only clean, disease-free branches. Avoid sap-heavy or treated wood, and never chip poison ivy, black locust, or toxic species like black walnut near edible plants.

Coverage Tips for Optimal Mulching
Getting the mulch layer right makes the difference between success and frustration.
Tips based on garden type:
- Vegetable garden: Use finer wood mulch between rows and paths, keeping mulch away from delicate roots or young plants.
- Perennials and shrubs: Spread mulch beyond the drip line-about the size of the canopy.
- Trees: Mulch a full circle around the base, simulating how trees drop branches in the forest.
- Paths: Add cardboard underneath for durability, especially in high-traffic areas or shaded zones where fungi thrive.
A good wood chip mulch setup reduces runoff, suppresses weeds, and creates a natural barrier that keeps soil cooler and moisture locked in.

Considerations When Using Wood Chips as Mulch
Not all chips are created equal. Know what you're using. If you're new to processing yard waste, this comparison of wood chippers, shredders, and mulchers will help you understand which tool fits your needs.
Key considerations:
- Fresh wood chips can tie up surface nitrogen while decomposing. Keep them on top, not mixed into the soil.
- Avoid black walnut, eucalyptus, or other allelopathic tree species that can suppress vegetables and other plants.
- Stump grindings are fine for pathways but often contain dirt-not ideal for garden beds or near roots.
- Always apply mulch after the last frost if your area sees freezing winters-it helps protect instead of locking in cold.
⚠️ Watch for this: A sudden fungi bloom (like white mycelium or harmless mushrooms) is a sign your wood mulch is breaking down and doing its job.
To keep yourself protected while chipping, see our Wood Chipper Safety Tips: Protect Yourself and Your Yard for best practices.

Maintaining Your Wood Chip Mulch
Mulch breaks down over time. That's a good thing-but it does need upkeep.
Maintenance routine:
- Check depth each season and add fresh mulch when it drops below 2 inches.
- Rake or fluff to break up mats that block water or air.
- Reapply near plants prone to heat stress or in sunny spots to help with moisture control.
- Don't let wood chips dry out and become hydrophobic-soak them in dry spells if needed.
- Watch for insects or rot-especially near trunks or stems. Pull back mulch if decaying material collects.
Regular care extends the life of your mulch layer and protects your long-term garden health.
And if you're making mulch at home, don’t forget to maintain your wood chipper regularly for clean cuts and consistent chip size.

Additional Uses for Wood Chips in the Garden
Have extra chips? Good. You can use them in more places than you think.
More smart ways to use wood chips:
- Compost pile browns - Carbon-rich wood balances your greens like food scraps or grass clippings.
- Chicken runs or animal bedding - Great for dry, absorbent ground cover.
- Base for pruning and brush pile management.
- Mulch for community garden walkways or greenhouse perimeters.
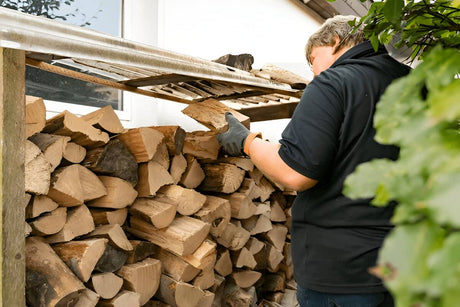
- Winter insulation over roots, garlic, or overwintered vegetables.
- Mix with cardboard as a base layer for new no-dig beds or forest-style gardens.
If you're constantly trimming trees or clearing yard debris, owning a wood chipper makes this whole process cleaner, faster, and sustainable. Instead of hauling brush to the dump, you're turning it into a valuable material on-site.
Summary
Learning how to use wood chips as free mulch is one of the simplest, most powerful upgrades you can make in your garden. It saves money, reduces waste, protects your soil, and mimics the natural systems that make forests so resilient.
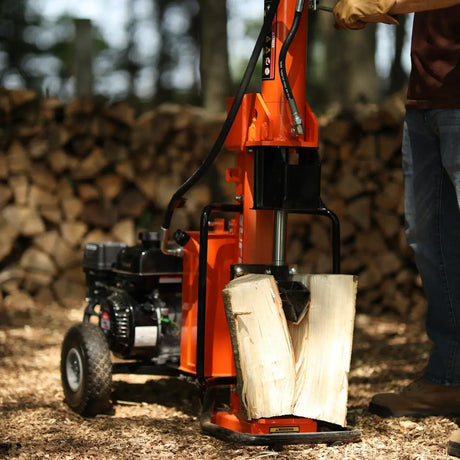
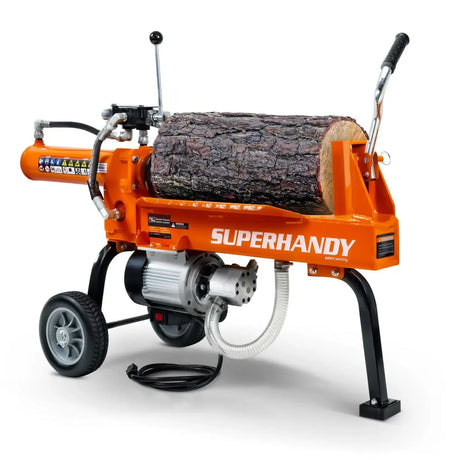
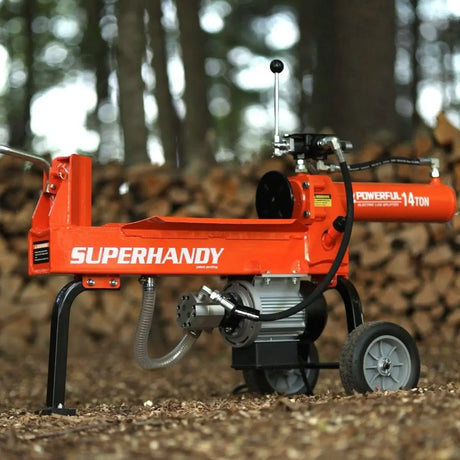
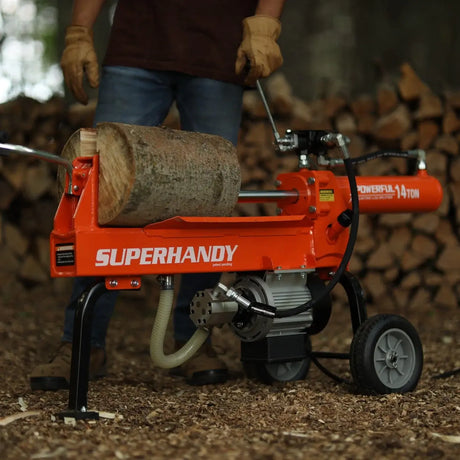
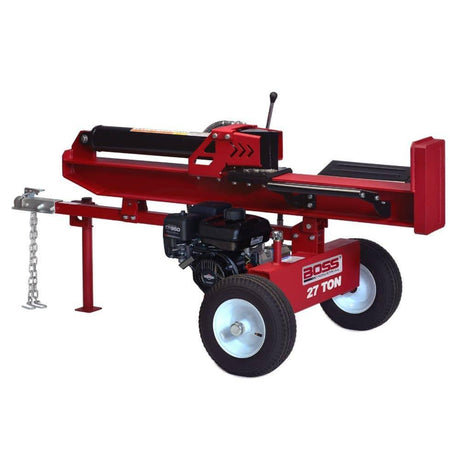
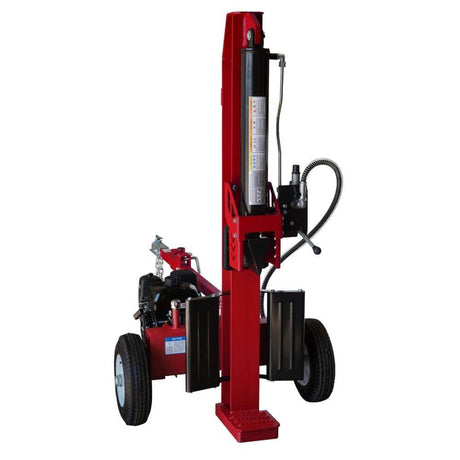
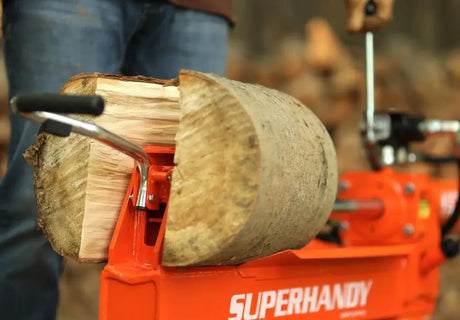
If you’re also splitting wood for firewood, take a look at our Top 7 Electric Log Splitters in 2025 — Tested, Trusted, and Gas-Free for efficient splitting options.
Whether you're getting free wood mulch from a neighbor or producing your own with a wood chipper, the results are the same: better plant health, fewer weeds, and more beauty in your own yard.
And if you're serious about long-term mulching and land care, investing in a quality wood chipper lets you turn everyday branches and cleanup into usable, nutrient-building mulch anytime you want.