How to Use a Wood Chipper: What It Is and Why Use One?
What a wood chipper does (and doesn't do)
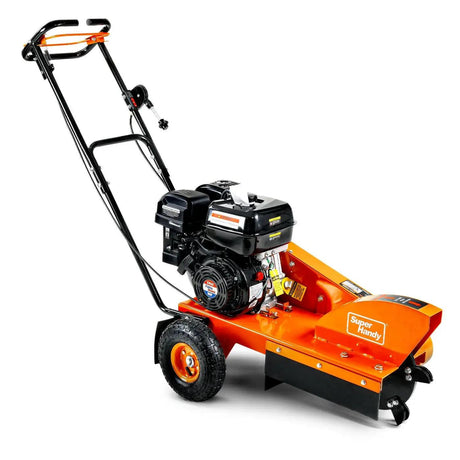
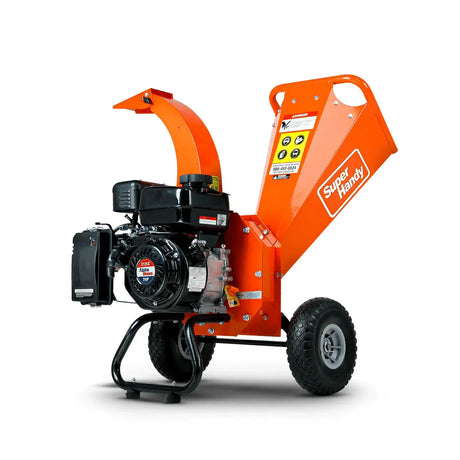
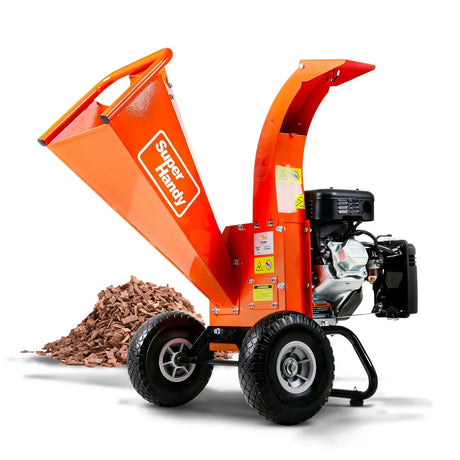
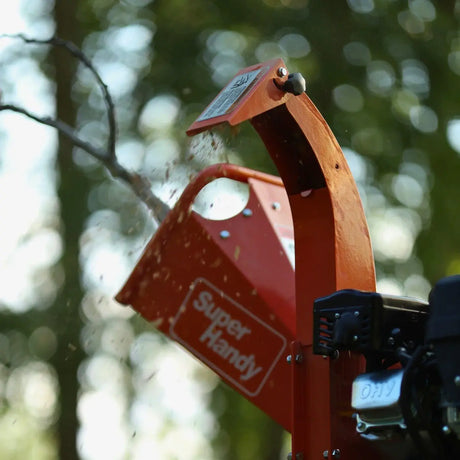
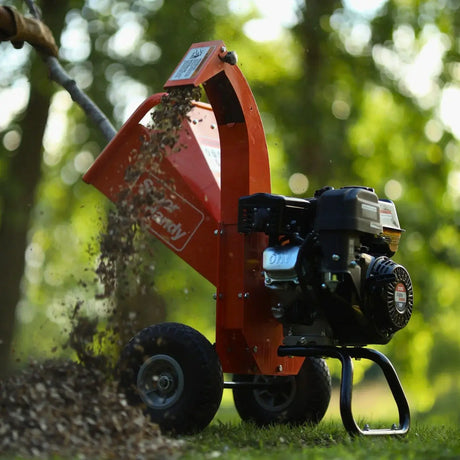
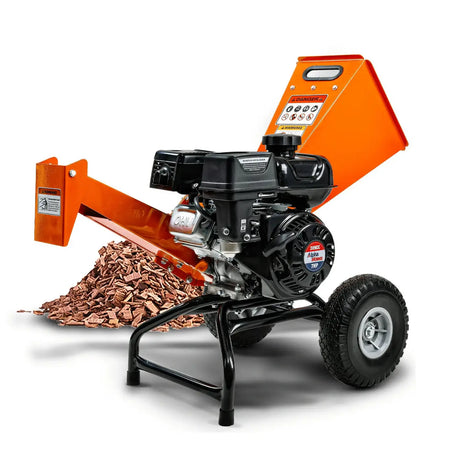
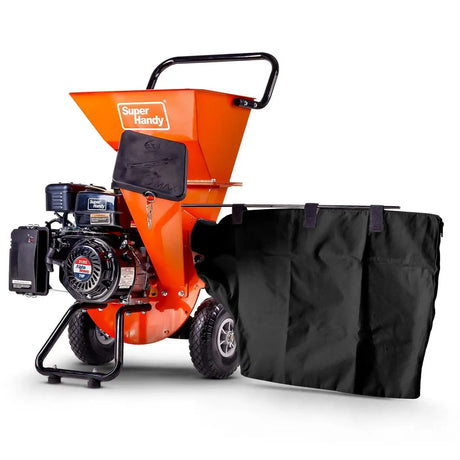
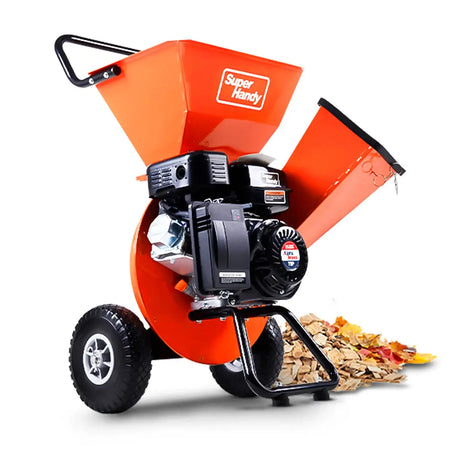
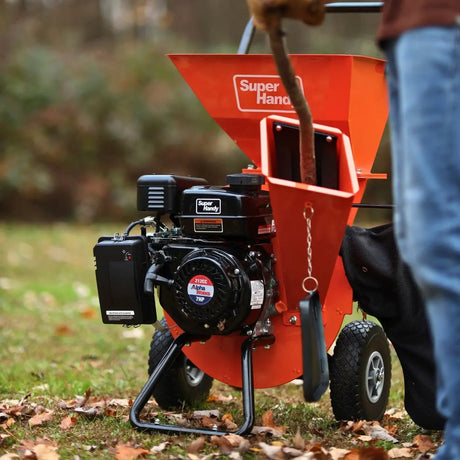
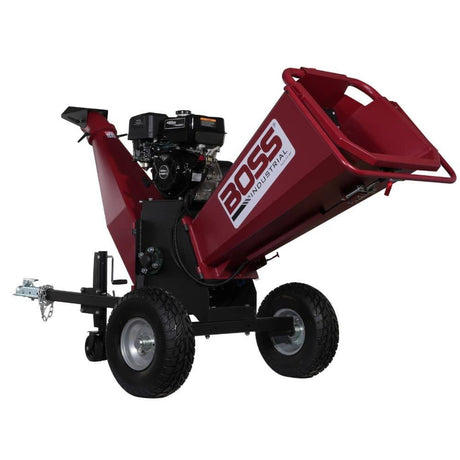
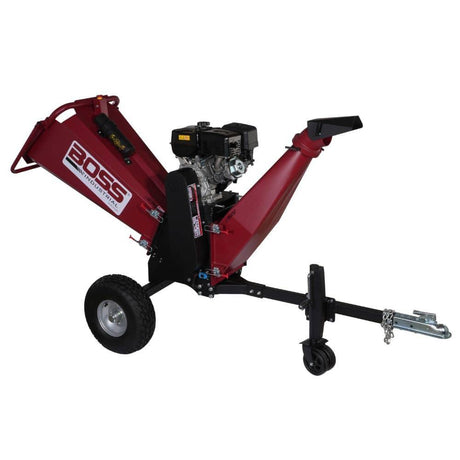
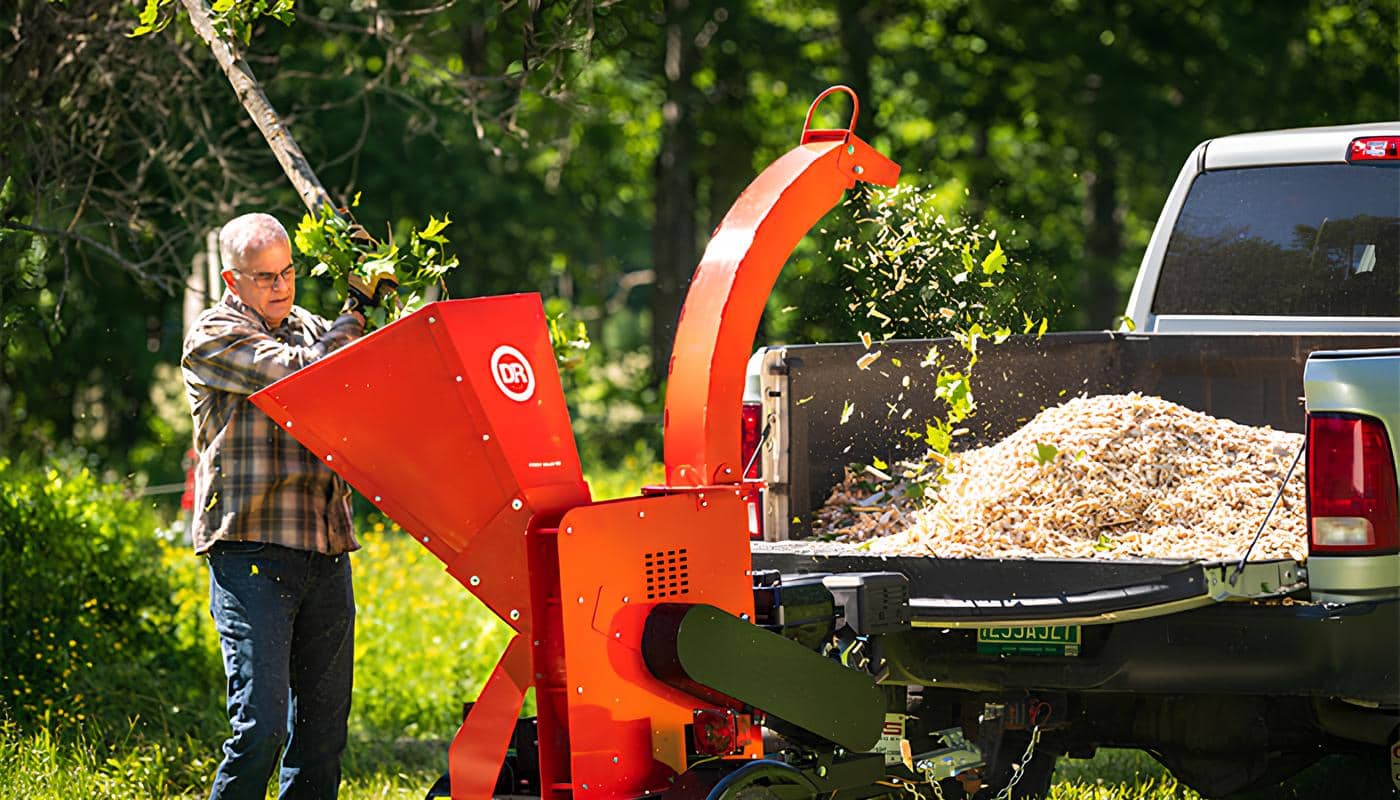
A wood chipper is a machine that breaks down branches, brush, and limbs into small wood chips, helping you clear debris and reduce yard waste efficiently.
Smaller models are built for residential use, easy to tow, and practical for regular cleanup jobs. But it’s not a garbage disposal—you can’t throw in rocks, metal, muddy roots, or wet leafy piles. It’s meant for solid, dry or slightly green wood.
Try feeding in palm fronds or tangled vines and you’ll quickly learn how fast they can clog the chute and bring everything to a stop.
Common materials you can feed into a chipper
Not everything in your yard is chipper-friendly, but there's a solid list of materials that most machines handle well:
- Dry branches and twigs (ideal)
- Green branches (as long as they're not too leafy or sappy)
- Shrubs with woody stems
- Thinned tree limbs (within your machine's diameter capacity)
- Brush from pruning or cleanup
- Some fruit tree trimmings (if not too moist or sticky)
A good rule of thumb: If you can snap it cleanly by hand, it'll probably chip well. If it bends like a wet noodle or oozes sap, save it for compost.
Who should use a wood chipper: Homeowners, landscapers, and contractors
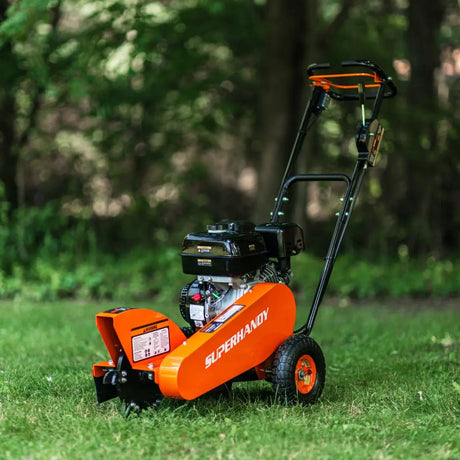
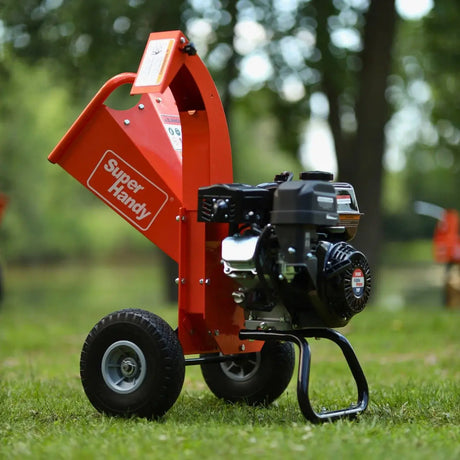
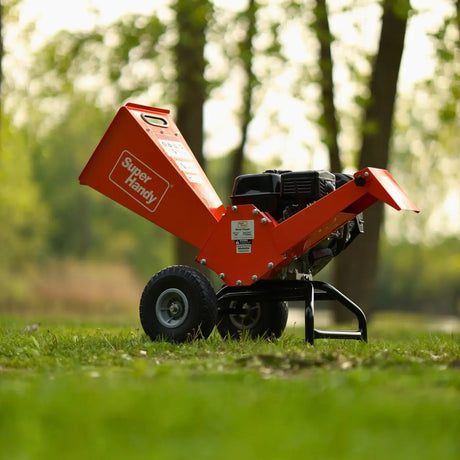
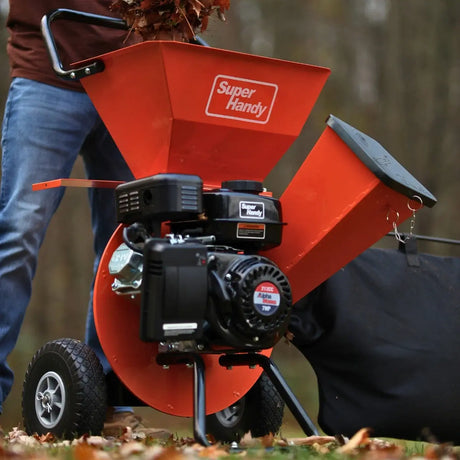
Wood chippers aren’t just for professional tree services or guys driving around with cranes in their trucks. These days, plenty of homeowners use small electric chippers or small gas-powered chippers for routine yard maintenance.
- Homeowners: Great for clearing storm debris, annual pruning, or tackling that big brush pile you’ve been ignoring behind the shed.
- Landscapers: Speeds up cleanup and lets you recycle clippings on-site instead of hauling them away.
- Contractors and handymen: Ideal for property managers, real estate pros, or anyone who handles outdoor maintenance as part of their business. Using a tractor can facilitate the chipping process, especially for larger branches.
If you’re in the market for a new machine, check out our Best Wood Chippers of 2025: Comparison Guide for Homeowners & Pros for top picks and detailed comparisons.
Bottom line? If you’re regularly trimming trees, clearing brush, or managing a large property, a wood chipper saves you time, labor, and disposal costs.
Mulch, cleanup, and time savings: Why it's worth it
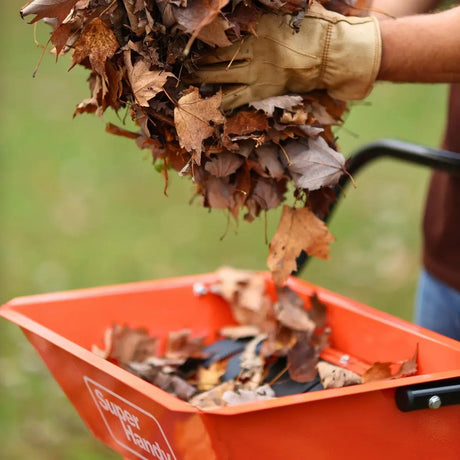
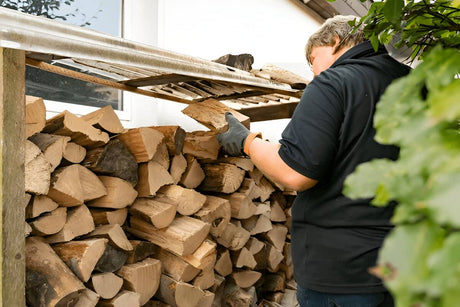
One of the best things about using a wood chipper is turning waste into something useful. Instead of loading up trash bags or making endless dump runs, you're producing clean, natural mulch right in your own backyard.
- Mulch your garden beds for moisture retention and weed control
- Create walking paths through woods or trails with soft, chipped material
- Reduce your carbon footprint by recycling debris on-site
- Save money on waste disposal fees or store-bought mulch
Plus, let's be honest-there's something really satisfying about watching a messy brush pile disappear into neat, tidy chips. Especially when you're on a tight schedule and need the yard looking clean yesterday.
Want to understand the full impact? Read about how wood chippers reduce yard waste and help you create mulch with real-world numbers.
How to Use a Wood Chipper Safely
Using a wood chipper isn't rocket science-but it's not something you want to approach casually either. These machines are powerful and efficient, but they demand respect. If you take safety seriously from the start, you'll save yourself from dangerous jams, flying debris, or worse. So let's walk through how to use a wood chipper safely-step by step.

Essential safety gear (PPE checklist)
Before you even fire up the chipper, gear up. The right protection can make all the difference in preventing serious injuries.
Here's what you should always wear:
- Safety glasses or a face shield - Flying chips can ricochet fast, even from 10 feet away.
- Hearing protection - Gas-powered chippers are loud. Prolonged exposure can permanently damage your hearing.
- Heavy-duty work gloves - For grip and to protect your hands when feeding material in.
- Steel-toe boots - Dropping a heavy branch or stumbling near a running machine without proper footwear? Not worth the risk.
- Long pants - Preferably something thick like work jeans or canvas pants.
- No loose clothing, jewelry, or dangling hair - These can get caught in the infeed rollers. Tie it all back or tuck it in.
Quick tip: Many pros keep a "chipping kit" in the shed-a go-to pile of safety gear so they never have to think twice.
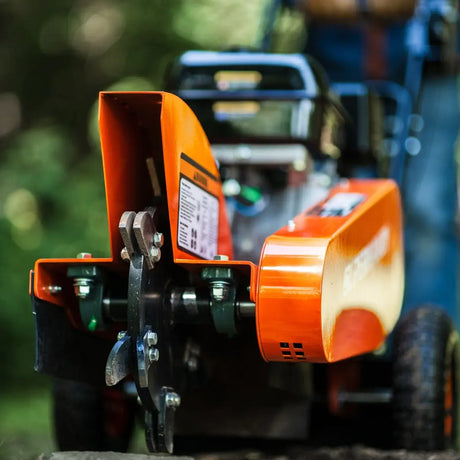
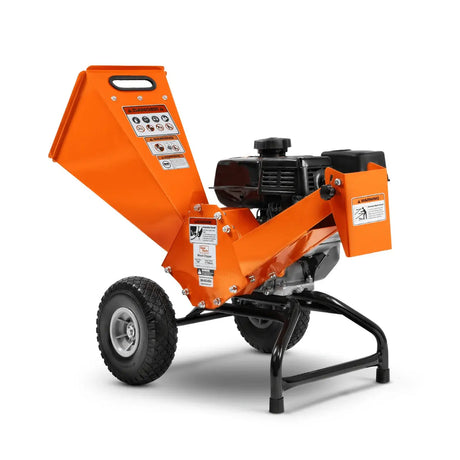
Understanding the parts of your chipper
You don't need to be a mechanic, but you should know the key parts of your machine. That way, you'll spot issues quicker and operate it more confidently.
Here's a basic breakdown:
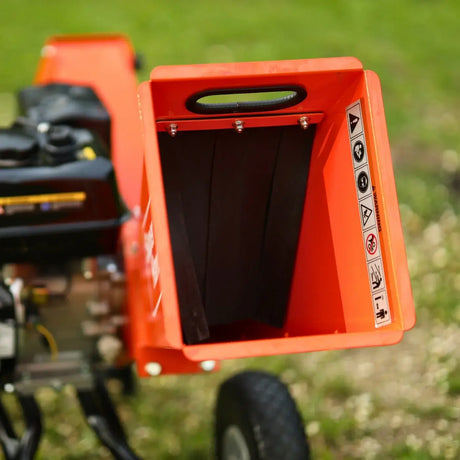
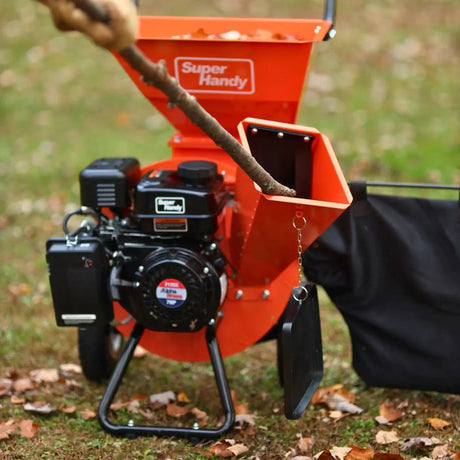
- Hopper/Infeed chute - Where you insert the branches and debris.
- Infeed rollers - These grip and pull the material into the blades (mostly on larger models).
- Cutting mechanism - Usually a disc or drum system with blades or hammers that chip the wood.
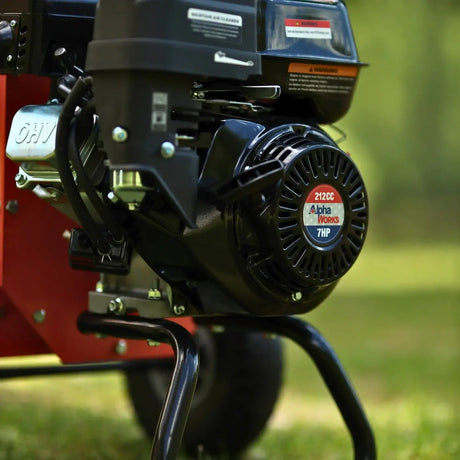
- Engine or motor - Gas-powered or electric, this powers the system.
- Discharge chute - Where the wood chips shoot out.
- Emergency stop bar or switch - Critical for quick shutdowns in case something goes wrong.
Knowing these parts helps you troubleshoot and communicate clearly if you ever need to explain a problem.
What to check before each use (daily inspection list)
Don't just roll it out and start feeding branches in. A quick pre-check can prevent major issues down the line.
Run through this list before every use:
- Check blades - Are they sharp, clean, and tight? Dull or loose blades won't chip efficiently and can strain the engine.
- Inspect belts and fasteners - Make sure nothing's loose, cracked, or frayed.
- Look for clogs - Check both the infeed and discharge chute.
- Confirm safety guards are in place - Nothing should be missing or disabled.
- Test the emergency stop - It should work immediately.
- Check fluids (for gas models) - Oil and fuel levels should be good; use fresh gas.
- Clear the area - No leftover twigs or debris from the last session.
This 2-minute habit keeps the machine running safely and saves time in the long run.

How to set up your work area the right way
Just like a good campsite or workshop, a well-planned chipping zone makes everything smoother-and safer.
Here’s what to do:
- Set up on level, stable ground - No slopes or loose gravel.
- Face the discharge chute away from people, windows, or vehicles.
- Create a clear drop zone for feeding material - You don’t want to trip over brush piles.
- Keep kids, pets, and bystanders far away - Ideally 50 feet or more.
- Set cones or warning signs if working near roads or public walkways.
- If planning to create a burn pile for yard debris, contact your local fire department to obtain a burn permit.
Bonus tip: Work with the wind-not against it. Feeding branches while chips blow back in your face is no fun.
Proper feeding technique (what to do and what to avoid)
This is where many people get it wrong-either out of haste or misunderstanding how the chipper pulls material in.
Here's what to do:
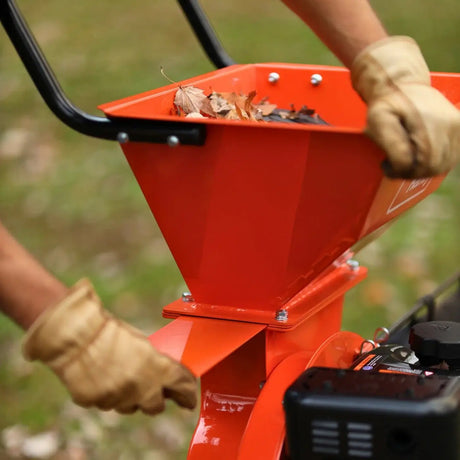
- Feed branches butt-end first - That's the thick end. It helps the rollers grab and feed more smoothly.
- Let the machine pull the material in - Don't force it.
- Stand to the side of the chute - Never directly in front.
- Hold branches loosely at the tip and release as soon as it's feeding steadily.
Avoid these mistakes:
- ❌ Never reach into the hopper-even if it looks like a small jam.
- ❌ Don't overload the hopper. One branch at a time is plenty.
- ❌ Don't force large or crooked pieces. If it doesn't fit, cut it down.
If you hear unusual noises, stop the machine and investigate before continuing.
What not to put in a chipper (materials to avoid)
Even though it might be tempting to toss everything in there, wood chippers aren't garbage disposals.
Avoid feeding these:
- Wet leaves or sod - They clog the chute fast.
- Palm fronds or vines - Fibrous materials tangle the blades and rollers.
- Rocks, metal, or nails - These can destroy your blades in seconds.
- Muddy branches - Dirt dulls blades fast and puts extra load on the motor.
- Trash or compost - Not only unsafe but can damage the internals.
Stick with dry-to-moderately-green woody material. When in doubt, leave it out.
How to shut down and clean up safely
Once you're done, don't just walk away.
Here's how to shut down properly:
- Let the engine idle for 30 seconds - This helps cool it down evenly.
- Turn off the machine using the main switch or key.
- Wait until all moving parts stop completely - Then unplug (electric) or remove the spark plug wire (gas) before cleaning.
- Clear out any debris from the hopper or chute - Use a stick, never your hand.
- Brush or blow off chips and dust - Especially around the intake and engine.
Store your chipper in a dry, sheltered spot if possible. Cover it if it'll be outside.
Over time, a clean, well-maintained machine performs better-and lasts way longer.
Step-by-Step Guide: How to Operate a Wood Chipper Like a Pro
Once you understand how a wood chipper works and how to stay safe, it's time to actually put it to work. Whether you're a first-time user or someone who's used rental machines a few times, following a clear process makes everything run smoother-and helps avoid costly mistakes.
This step-by-step guide walks you through how to use a wood chipper like a pro, from prep to cleanup.
Step 1: Prep your materials and check conditions
Before you even touch the chipper, take a few minutes to prep your workspace and materials.
Here's what that looks like:
- Sort your debris - Try to group branches by size. Remove any dirt, rocks, or metal from the pile.
- Trim oversized limbs - Make sure nothing exceeds your chipper's capacity. If your chipper handles up to 3 inches, stick to that.
- Work on a clear, level surface - Avoid hills or soft ground that could shift underfoot.
- Keep the wind in mind - If the wind is blowing straight into the discharge chute, you're going to be wearing chips.
Think of this step as setting up the kitchen before you cook-when everything's in place, the job is faster and more satisfying.
Step 2: Inspect and prep the machine
Even if you just used the chipper yesterday, don't skip this. Machines can shift, loosen, or clog between uses.
Here's a simple pre-start checklist:
- Blade check - Make sure the blades are sharp and secure.
- Safety guards and chute - Confirm everything is in place and free of blockage.
- Tires and frame (for towable models) - Ensure it's stable and not leaning.
- Fuel and oil (for gas models) - Top off if needed, and always use fresh gasoline.
- Power cord (for electric models) - Inspect for any cracks or fraying.
Doing this saves you from the dreaded mid-job breakdown. And trust me, nothing kills momentum like a jam five minutes in because you skipped a once-over.

Step 3: Start the chipper (gas vs. electric)
Starting a chipper is usually straightforward, but the process varies a bit depending on the type of motor.
Gas-powered chipper start-up:
- Set the choke and throttle.
- Make sure the fuel valve is open.
- Pull the recoil starter firmly (like starting a lawn mower).
- Once the engine catches, adjust the choke and let it idle for 30 seconds before feeding.
Electric chipper start-up:
- Plug into a grounded outdoor-rated extension cord.
- Press the start button or flip the switch.
- Let the motor spin up fully before feeding any material.
Pro tip: If your machine has an emergency stop bar or reset switch, make sure it isn't engaged before starting. Happens more often than you'd think.
Still deciding which type to buy? This gas vs. electric wood chipper comparison will help you choose the best fit for your workflow.
Step 4: Feed branches into the hopper
Here's where most of the action happens-and where many people run into trouble. A little patience and proper technique go a long way.
Do this:
- Feed branches butt-end first (the thicker end), especially if your chipper has infeed rollers.
- Keep a firm grip, but don't force it-let the machine pull it in at its own pace.
- Stand to the side, never directly in front of the hopper.
- Only feed one branch at a time for small-to-mid machines.
Avoid this:
- Don't feed tangled limbs or large clusters-they can snag or jam the hopper.
- Never, ever push material in with your hands. If it needs a nudge, use a push stick or long branch.
If you've ever tried to feed in a twisted bundle of green vines or wet branches, you probably remember the noise it made-and the cleanup that followed. Stick to woody material and avoid the temptation to "just toss it all in."
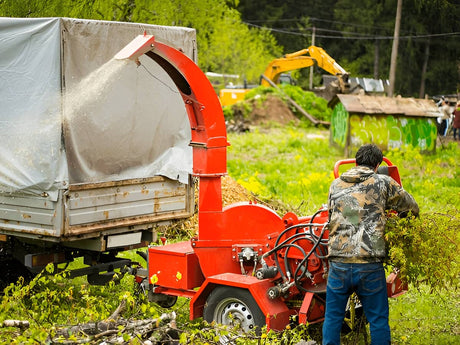
Step 5: Handle output and collect mulch or chips
Once you're feeding the chipper, you'll start seeing the output in seconds. Where it goes-and what you do with it-is up to you.
Options include:
- Direct chute into a wheelbarrow or tarp - Keeps chips contained and makes transport easier.
- Mulch straight onto flower beds or trails - Saves time if you're working nearby.
- Use collection bags or bins - Some smaller machines include or allow attachments for easier cleanup.
Keep an eye on the chute. If you notice chips flying out slower than usual or in uneven bursts, it could be the start of a clog.
Also, don't let the pile build up too close to the discharge chute-if chips bounce back into the machine, it can cause issues.
Looking for more creative ways to put those chips to use? Check out 5 Genius Ways to Use Wood Chips Around the House That Will Surprise You for inspiration.
Step 6: Turn off, clean, and store the machine properly
You're almost done, but this last step matters more than you might think. How you shut down and store your chipper affects how well it'll perform next time-and how long it'll last.
Here's the right way to wrap up:
- Let the engine idle for 30 seconds - This cools the engine and prevents carbon buildup.
- Power down completely - Turn off the switch or kill the motor.
- Unplug (electric) or disconnect spark plug wire (gas) before doing any cleaning.
- Clear debris from the hopper, discharge chute, and around the blades-using a stick or brush, never hands.
- Check for signs of wear-loose bolts, frayed cords, or fluid leaks.
- Store in a dry place or under a waterproof cover.
Treat it like any other serious tool in your shed. A little attention now saves you headaches later-and helps you get years of dependable performance out of your chipper.

Troubleshooting & Maintenance Tips
Even the best wood chippers run into issues from time to time. Whether it's a minor clog or a full-blown stall, the key is knowing what to look for-and how to fix it without turning a small problem into a big one.
I always tell clients: think of your chipper like a chainsaw or a car. If you stay ahead of the maintenance, it'll take care of you. If you ignore it, it'll let you down when you need it most.
Common problems (clogs, stalls, poor chipping)
Let's start with the usual suspects. These are the problems I get asked about most:
- Clogs in the discharge chute - Often caused by feeding wet or leafy material too quickly. If chips aren't shooting out as fast or start piling up, this is likely the issue.
- Material not feeding properly - This could be dull blades, overly fibrous material (like vines or palm), or feeding the wrong end of the branch.
- Stalling engine - Could mean you're overloading the motor or there's a fuel or air issue.
- Poor chipping quality - If you're getting dust instead of chips, or rough chunks instead of clean cuts, your blades may be dull or misaligned.
Real-life example: I once helped a homeowner who thought his chipper was broken because it barely produced any mulch. Turns out he was chipping wet leaves and pine needles-basically stuffing a lawn bag into the hopper. Once we switched to dry branches and cleaned the chute, it worked like new.
How to clear a jam safely
Rule #1: Never reach into a chipper. Ever. Even when it's off, those blades can move unexpectedly due to stored energy.
Here's how to safely clear a jam:
1. Turn off the engine completely.
- If it's electric, unplug it.
- If it's gas, kill the ignition and pull the spark plug wire off.
-
Listen closely-it can take a few seconds.
- Avoid using metal tools near blades if possible.
4. Open access panels carefully (if your chipper has them) to check the rollers and blades.
5. Check the discharge chute too.
-
Sometimes that's where the backup starts.
Pro tip: Keep a designated clearing tool next to your chipper, so you're never tempted to use your hands.

Sharpening or replacing blades
Sharp blades make all the difference. Dull ones don't just chip poorly-they strain the engine and wear down other parts faster.
How often should you sharpen?
- Light use: Every 10-12 hours of chipping.
- Frequent use: Check every 5-6 hours.
- If you hit dirt, nails, or rocks: check immediately.
Sharpening tips:
- Remove blades carefully according to the manual.
- Use a flat file or sharpening stone for light touch-ups.
- For full sharpening or nicks, take them to a professional.
- Replace blades if they're chipped, warped, or worn down too far to maintain the correct angle.
Some pros keep a spare set of blades on hand. That way, you can swap them out mid-job and keep working while the originals get sharpened.
Engine checks and basic maintenance
Whether your chipper is gas-powered or electric, regular maintenance keeps it running strong.
Here's what I recommend:
Gas-powered chipper maintenance:
- Check the oil before each use. Top up or change it every 25 hours.
- Replace spark plug every season or 100 hours.
- Clean or replace air filter monthly or when it looks dusty.
- Drain fuel if storing for more than 30 days. Old gas causes hard starts.
Electric chipper maintenance:
- Inspect power cords for wear, cuts, or damage.
- Blow out dust and chips around the motor housing after each use.
- Check fasteners-vibration can loosen bolts over time.
And no matter the model: always store it clean, dry, and covered. It'll last longer and start easier every time.
Signs it's time to service or replace your machine
Sometimes, despite your best efforts, the machine starts showing signs it needs a tune-up-or a trip to the scrapyard.
Watch for these red flags:
- Unusual noises - Grinding, screeching, or rattling often mean blade issues or loose parts.
- Persistent clogs - Especially if it happens even with proper feeding.
- Vibration or shaking - Could be unbalanced blades or worn bearings.
- Frequent stalling - Might indicate engine trouble or internal wear.
- Visible wear - Cracks in the housing, warped chute, or loose safety guards.
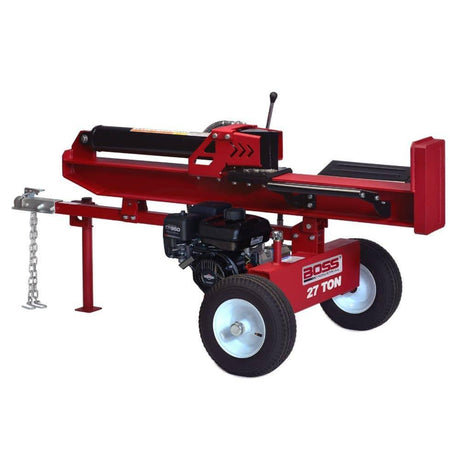
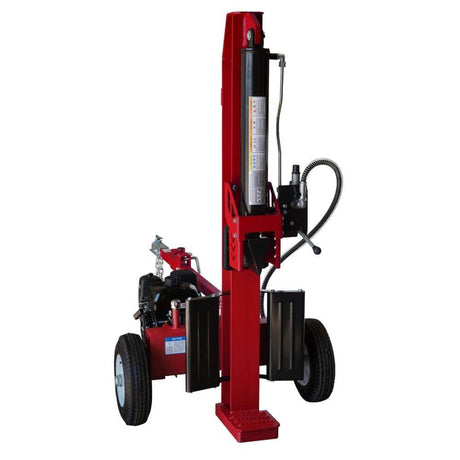
For step-by-step maintenance tips on related equipment, see our Log Splitter Maintenance 101: The Step-by-Step Guide Pros Use.
If you're spending more time fixing than chipping, it may be time to retire it. But if it's a solid machine with good bones, a full service and blade replacement can bring it back to life.