Save time, reduce clogs, and get more out of your wood chipper or wood shredder with these smart, expert-approved tricks.
Hack #1: Pre-Sort Your Yard Waste for Faster, Safer Chipping
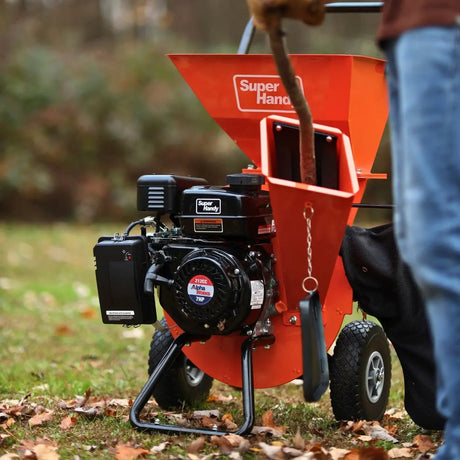
If you want to chip faster and keep your machine running smooth, start before you even fire it up. Pre-sorting your yard waste saves time, prevents clogs, and protects your chipper's blades. It's a small step that makes a big difference.
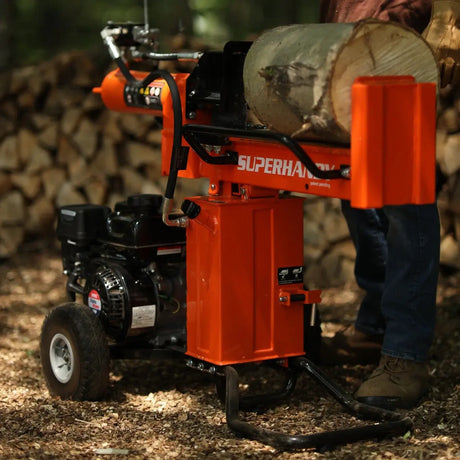
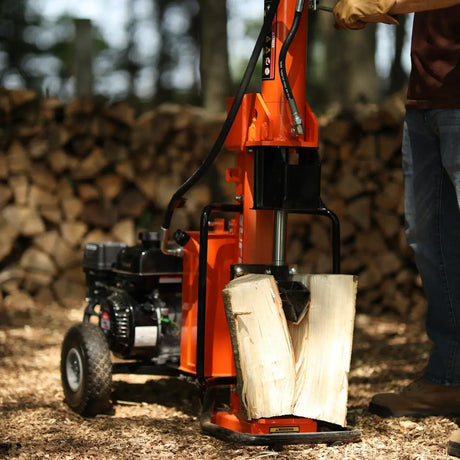
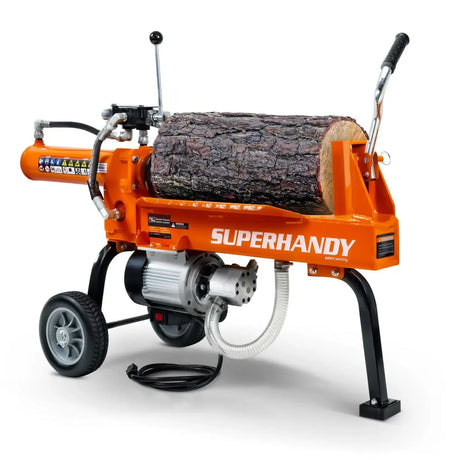
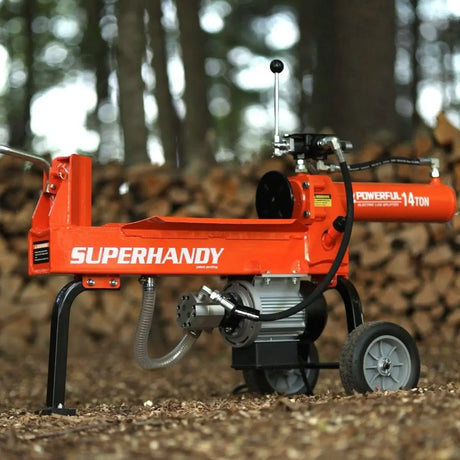
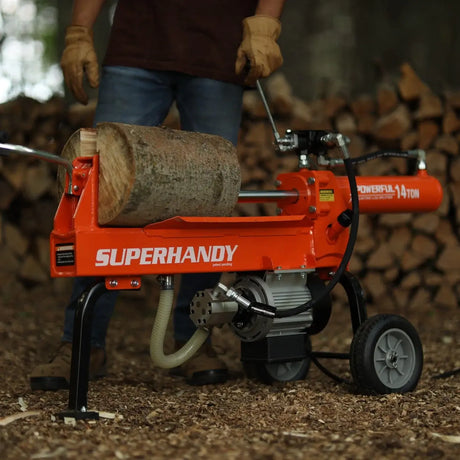
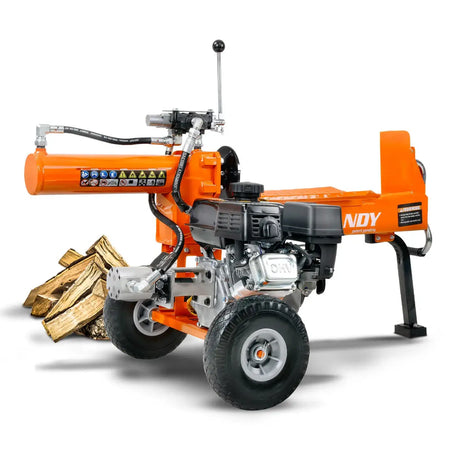
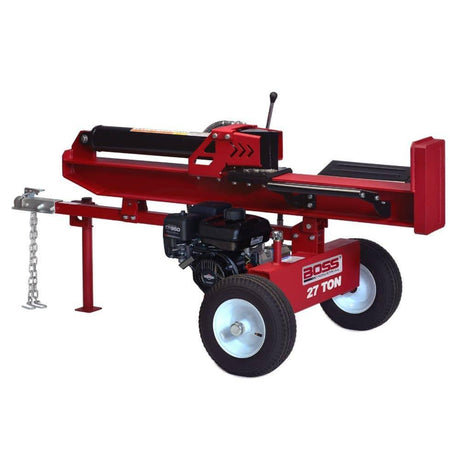
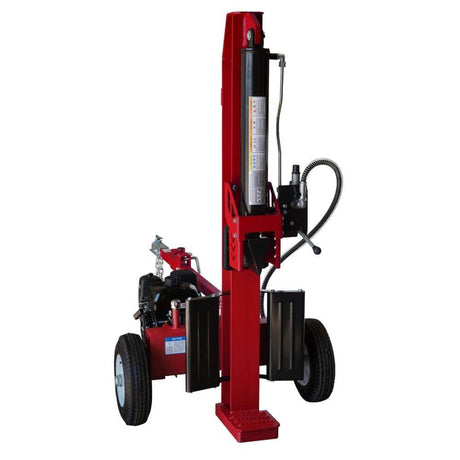
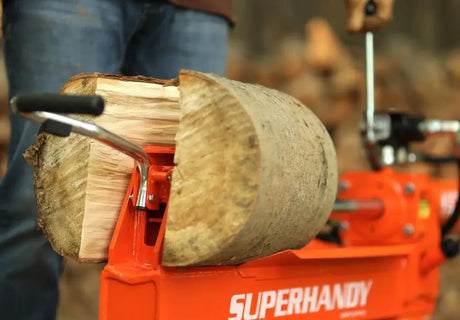
If you deal with larger logs before chipping, check out our log splitter guide to make handling big limbs easier.

Why Clean, Dry Branches Make All the Difference
Your chipper loves dry wood. Clean, seasoned branches chip faster, smoother, and put less strain on the engine.
Here's why dry wood works better:
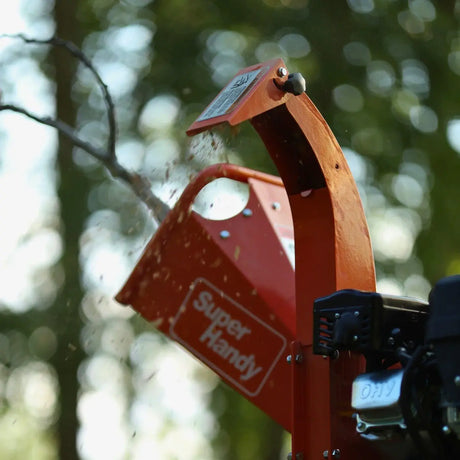
- It chips cleanly without turning into pulp or sticking to the blades.
- Less moisture = less resistance, so the engine doesn't work as hard.
- Reduces clogging and blade wear, especially in shredders.
If your yard waste is damp from rain or fresh trimming, let it sit in the sun a day or two before chipping. You'll hear the difference-and see it in the pile of clean chips.
If you’re curious about what happens when you chip wet wood, see our wet wood guide.
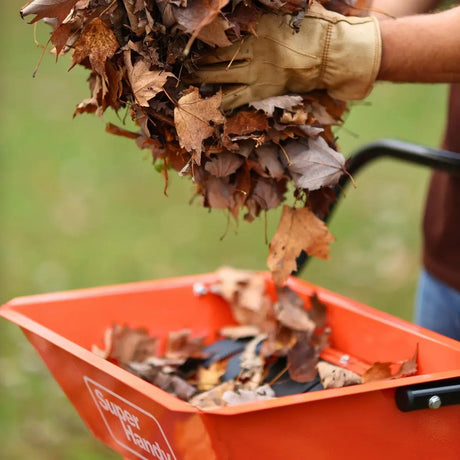
How to Avoid Clogs by Mixing Green and Dry Materials
Green material isn't off-limits-but feed it smart.
Too much leafy or wet material at once can clump inside the hopper, slow the rotor, or even shut down your machine. The trick? Mix it up:
- Alternate green and dry: For every armload of wet stuff, toss in a few dry sticks.
- Break up thick leafy branches so they feed easier.
- Keep an eye on output-if you see mush instead of chips, back off and adjust.
I've worked with folks who struggled through constant jams, only to realize they were feeding in wet leaf piles back-to-back. Once they started mixing, the chipper didn't just run better-it flew through the job.
If you're not sure what not to feed your chipper, a quick read could save you hours of frustration (and some expensive repairs).
Hack #2: Sharpen Your Blades Before You Think You Need To
Most people wait until their wood chipper starts struggling before checking the blades-but by then, it's already costing you time and performance. Sharp blades make cleaner cuts, reduce strain on the engine, and keep your chipping smooth from start to finish.

The Visual and Sound Clues That Signal a Dull Blade
You don't need a micrometer to know when your blade's going dull-your chipper will tell you.
Watch and listen for these signs:
- Branches take longer to feed or bounce in the chute
- Chips look stringy or shredded, not clean and uniform
- You hear more engine strain or bogging during normal use
- You need to push harder, instead of letting the chipper pull the branch in
If any of these show up, it's time to inspect those blades. A quick touch-up now saves you from bigger issues later.
Keeping your blades sharp is one of the most important parts of wood chipper maintenance. A simple check after every use can prevent bigger problems later on.
Quick Sharpening Tips to Extend Blade Life
Sharpening doesn't need to be a project. With a little routine care, you can keep blades performing without pulling the whole machine apart every weekend.
- Use a flat file or sharpening stone to hone the edge-don't over-grind.
- Check your manual for blade angle and torque specs if you're removing them.
- Clean off pitch and sap buildup regularly, even if the edge feels sharp.
- Keep a spare set of blades on hand so you can swap and go if one chips or dulls mid-job.
One customer I worked with sharpened his blades after every third use-his chipper ran like new for years. Small habit, big payoff.
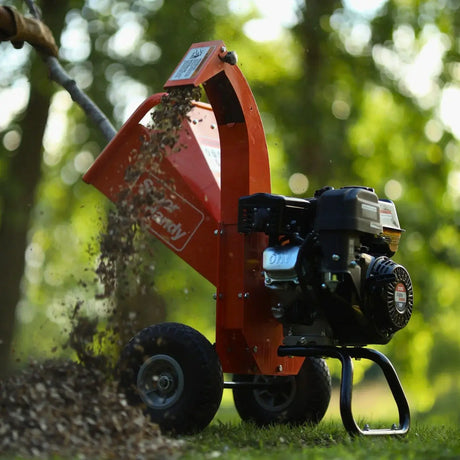
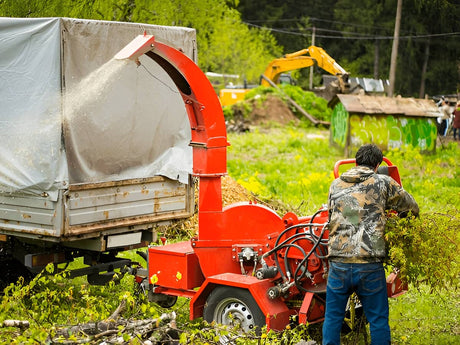
Hack #3: Use a Tarp or Sheet to Collect Chips More Efficiently
Want to cut your cleanup time in half? Lay down a tarp or heavy-duty sheet right where the chips land. It's a simple trick that makes a big difference-especially if you're chipping a large pile.

How This Simple Trick Speeds Up Cleanup
Without a tarp, chips scatter across the lawn or driveway. That means raking, scooping, and hauling multiple times. But with a tarp:
- You catch the chips as they fall-no need to chase them around.
- You can drag or fold the tarp to move chips wherever you want.
- No mess left behind, especially if you're working over gravel, mulch, or grass.
I've worked jobs where this hack turned an hour of cleanup into 10 minutes. Total game-changer.
Best Placement Tips to Avoid Blowback and Clumping
For it to work well, you've got to place it right:
- Angle the tarp slightly downhill, if possible, so chips collect in one area.
- Lay it flat and secure the corners with rocks or small logs to prevent it from blowing up.
- Keep it just far enough from the chute to avoid blowback while still catching most of the output.
Avoid piling chips too high in one spot-wet chips can clump and get heavy fast. Spread them out a bit and shift the tarp as needed.
A tarp might not feel like high-tech gear, but when it comes to working smarter, not harder, it's one of the best tools you've already got.
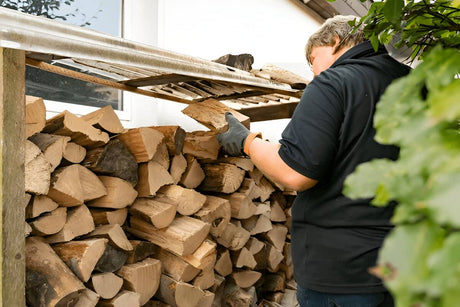
Hack #4: Turn Your Chips Into Free Mulch or Compost
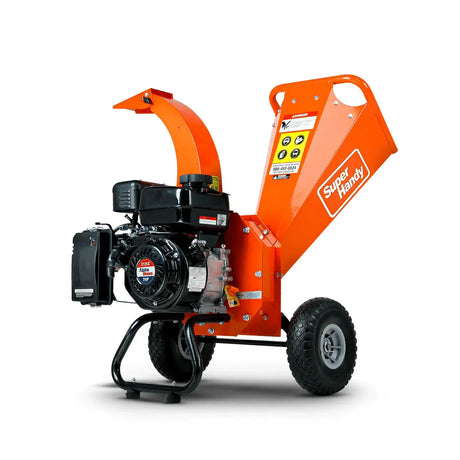
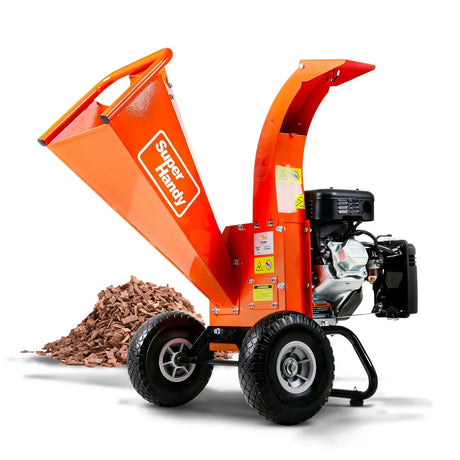
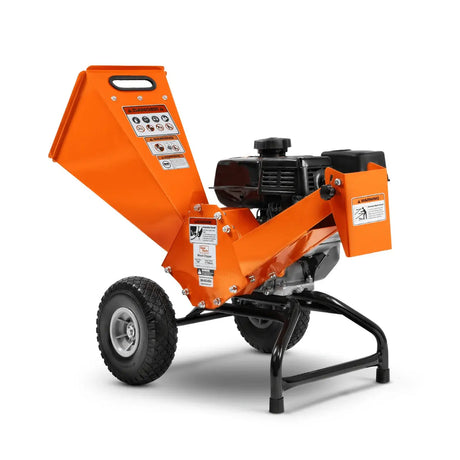
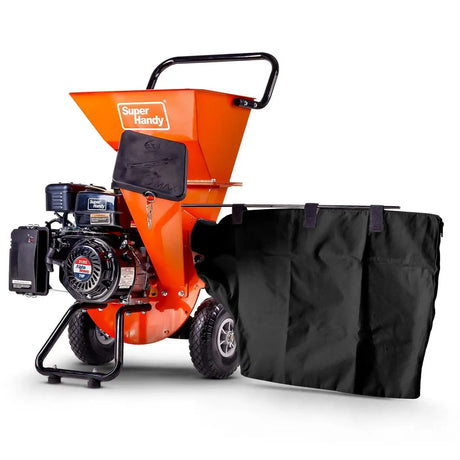
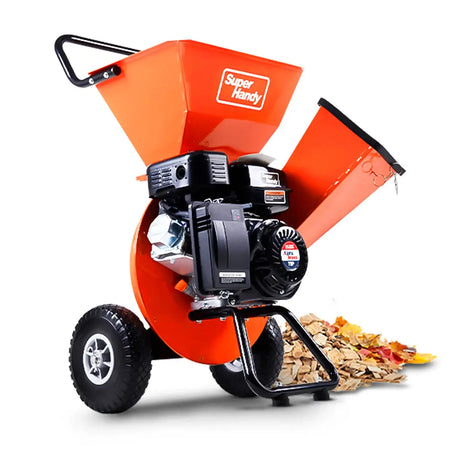
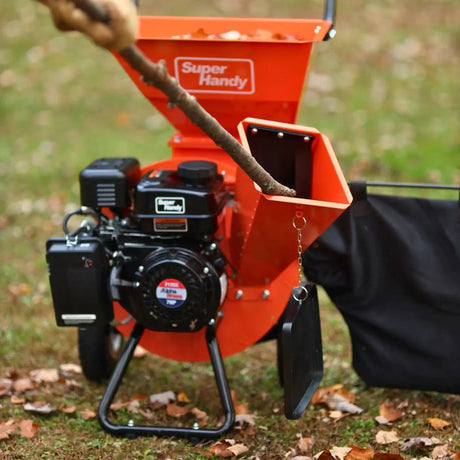
Don't let those wood chips go to waste-they're one of the best free resources in your yard. Whether you've got a small wood shredder or a larger chipper, that pile of chips can be turned into valuable mulch or compost with very little effort.

Which Types of Chips Are Garden-Friendly
Not all chips are created equal. The best ones for your garden come from:
- Dry, untreated branches - no paint, no chemicals, no pressure-treated wood
- Hardwoods like oak or maple, which break down slower and suppress weeds
- Fresh chips from softwood (like pine) can be used too-but let them age a bit before using around sensitive plants
Avoid anything with sap, resin, or leaves from toxic trees (like black walnut). And never use chips made from treated lumber in garden beds.
How to Use Chips Safely Around Trees and Flower Beds
Used the right way, chipped wood works wonders for moisture control and weed suppression-but there are a few tricks:
- Keep mulch a few inches away from tree trunks to avoid rot
- Don't pile it too thick-2 to 3 inches is perfect
- Use aged chips for flowers and veggies, especially if they're green or freshly shredded
- Turn it into compost by mixing chips with nitrogen-rich materials (like grass clippings or kitchen scraps)
One homeowner I helped used fresh chips straight from the shredder and accidentally smothered their roses. Lesson learned: a little patience (or proper placement) goes a long way.
Even a small wood chipper can produce high-quality mulch-as long as you're using clean, untreated wood.
Hack #5: Store Your Chipper the Right Way Between Seasons
Once the leaves are gone and yard work winds down, your wood chipper might sit untouched for months. But how you store it matters. Improper storage is one of the most common ways homeowners shorten a chipper's lifespan without even realizing it.

Why Indoor Storage and Engine Draining Prevent Damage
Leaving your chipper out in the elements-covered or not-is asking for rust, engine issues, and trouble come spring.
Here's what indoor storage protects against:
- Moisture buildup, which causes rust on blades, drums, and bearings
- Fuel breakdown, especially in gas-powered engines
- Rodent damage-wires and belts are a snack for mice if left outdoors
- UV exposure, which can crack plastic and dry out seals
And if you're storing a gas chipper, drain the fuel or add stabilizer. Old gas turns gummy and can clog the carburetor fast.
Pre-Storage Maintenance Checklist (in Under 10 Minutes)
Before you tuck it away, give your chipper a quick once-over. This 10-minute routine can save you hours later:
- Empty the fuel tank or treat it with stabilizer
- Clean out chips and debris from the hopper, chute, and engine area
- Check the oil level and top it off if needed
- Wipe down metal parts with a light coat of oil or rust-preventive spray
- Store it covered, in a dry place, off the ground if possible
I've seen folks pull their chipper out in spring only to find seized blades or mice nests in the housing. A little off-season care keeps your machine ready to go when the yard work returns.
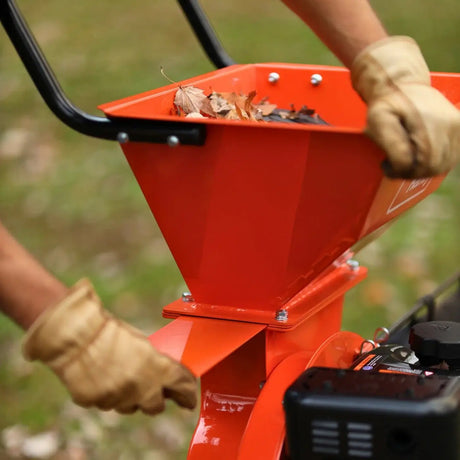
Hack #6: Use the Right Feeding Angle to Prevent Jams
If your wood chipper keeps stalling or jamming mid-job, it might not be the machine-it could be how you're feeding it. The angle and position of your branches make a big difference in how efficiently your chipper works.

The Best Way to Position Branches for Smooth Chipping
The key is to let the chipper pull the branch in naturally. For that to happen, you need the right angle and alignment:
- Feed from the side, not dead center-this keeps your hands out of the danger zone and helps guide the branch better
- Point the thicker end in first-this gives the blades something solid to grip
- Keep branches straight-curved or forked limbs can twist or get caught in the chute
If you feel resistance or hear the engine bogging down, stop and adjust the angle. Don't force it. Let the machine do the work.
When and How to Trim Before Feeding
Not every branch is chipper-ready right off the tree. If it's twisted, tangled, or loaded with side shoots, take a minute to prep it:
- Trim off side branches or forks so it feeds in straight
- Cut down thick, odd-shaped pieces into manageable sizes
- Avoid feeding in large, leafy ends first-those tend to clog before the blades even catch
I've seen a single knotted branch take down an entire job because it twisted up in the chute. A 30-second trim could've avoided 20 minutes of clearing.
Quick rule: if a branch looks like a tangled mess, clean it up before it hits the hopper. Your chipper will thank you.
For more ways to fix performance issues, check out our full wood chipper troubleshooting guide.
Hack #7: Keep a Maintenance Log (Yes, Really)
This one sounds like overkill-until you skip a blade check or forget the last oil change. Keeping a simple maintenance log for your wood chipper or wood shredder can save you hundreds in repairs and downtime. It's not about being overly detailed-it's about staying one step ahead.

How Simple Notes Can Save You Hundreds in Repairs
Think of it like a health record for your chipper. When something goes wrong, a quick look at your log can tell you:
- When blades were last sharpened
- If that odd sound started before or after the last oil change
- Whether the belt was replaced-or just tightened
I once helped a homeowner troubleshoot a startup issue. Turned out, he hadn't changed the oil in over a year because he thought he had. A $20 oil change could've prevented a $200 repair.
What to Track: Hours Used, Blade Sharpening, Oil Changes
You don't need a spreadsheet-just a notepad, dry-erase board, or even a sticky note near where you store the chipper.
Track things like:
- Hours of use - Especially after big jobs
- Blade sharpening or replacement dates
- Oil changes or top-offs
- Fuel stabilizer added (for gas models)
- Any unusual noises, clogs, or slowdowns
It takes less than a minute to jot down, and you'll thank yourself later when your chipper's still running like new-season after season.