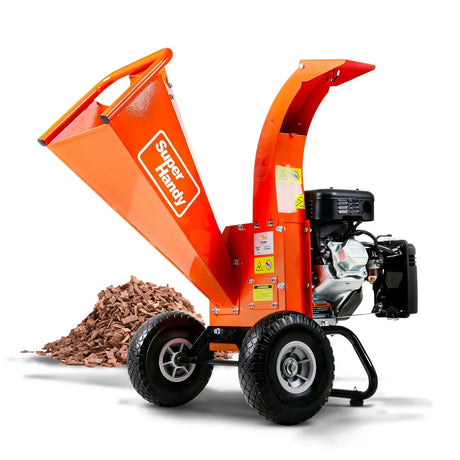
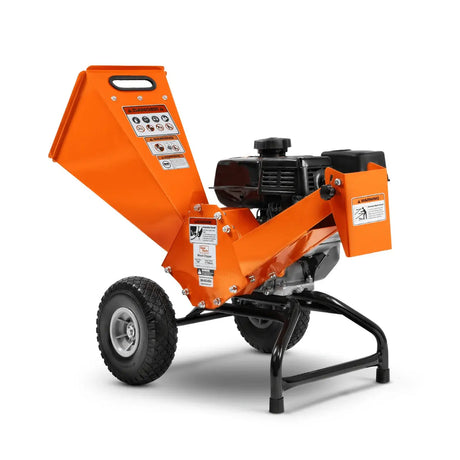
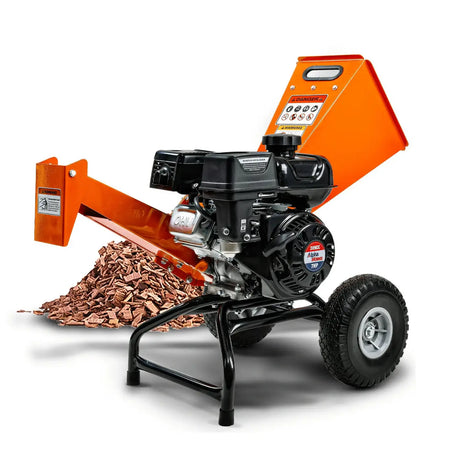
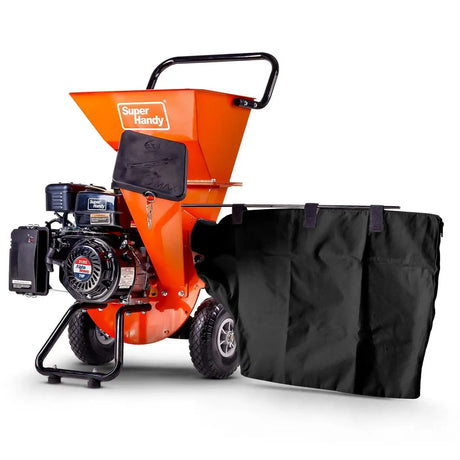
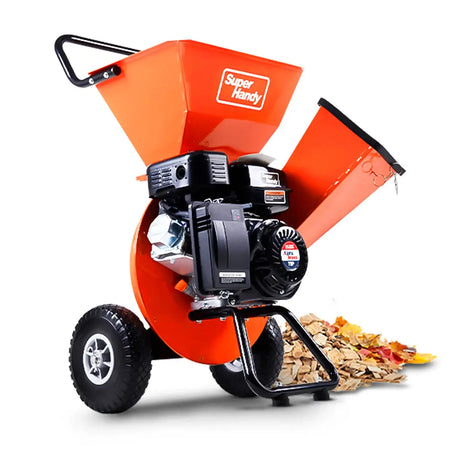
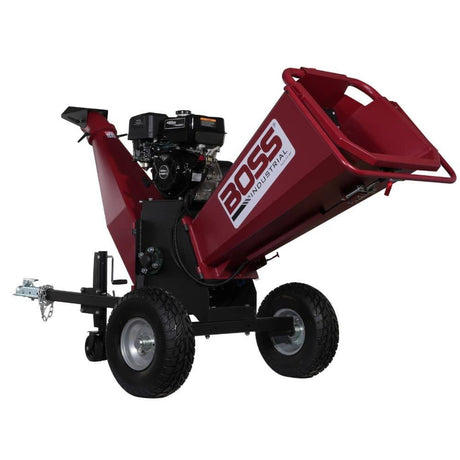
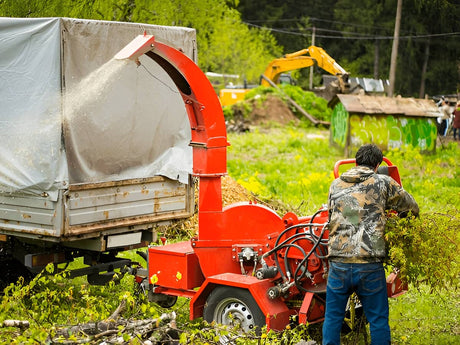
You have some issues with your wood chipper? Our wood chipper troubleshooting guide addresses common problems like blocked debris, dull blades, engine failures, and feed issues. Learn quick fixes to keep your machine running smoothly and safely.
For tips on materials to avoid, see our 5 Things You Should Never Put in a Wood Chipper.
Key Takeaways
- Completing regular wood chipper maintenance, especially blade care, is critical to ensuring reliable performance and preventing damage.
- Engine issues such as old fuel, low engine oil, or overheating are common and avoidable with routine checks.
- Monitoring belts, clutches, and lubrication points helps extend service life and reduce unexpected breakdowns.
If you haven’t already, check out our complete wood chipper maintenance guide to prevent many of the issues covered in this article.

Pre-Troubleshooting Checks
Initial Inspection Steps
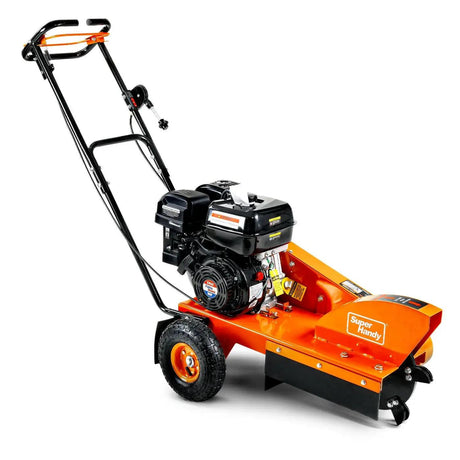
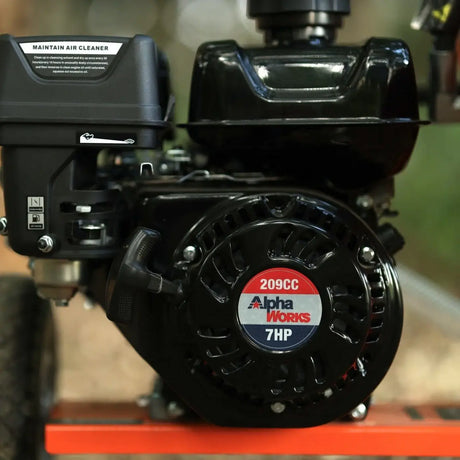
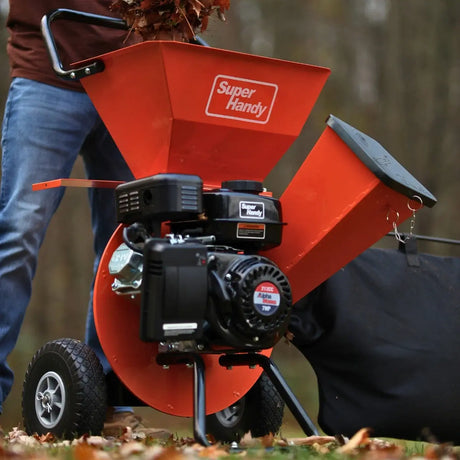
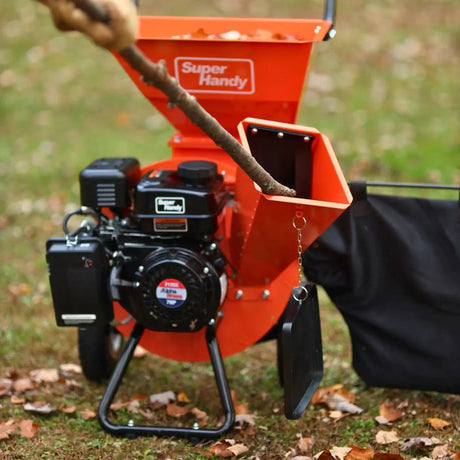
Before diving into detailed troubleshooting, it’s essential to perform an initial inspection to identify any potential issues with your wood chipper. Start by verifying the power source—ensure the machine is properly plugged in and receiving power if it's an electric chipper or check that there is still gasoline in the tank if it is a gas chipper.
Next, inspect the chipper’s blades and anvil for any signs of damage or wear. Check the engine oil level to make sure it’s at the recommended level, low oil can quickly lead to engine problems.
Finally, review the user manual to familiarize yourself with the machine’s operation and any specific troubleshooting procedures. This preliminary check can save you time and help pinpoint the issue more accurately.
Identifying Common Warning Signs
Recognizing common warning signs can help you diagnose issues with your wood chipper before they become major problems.
Look for signs of overheating, such as excessive smoke or a burning smell, which can indicate poor ventilation or low oil levels.
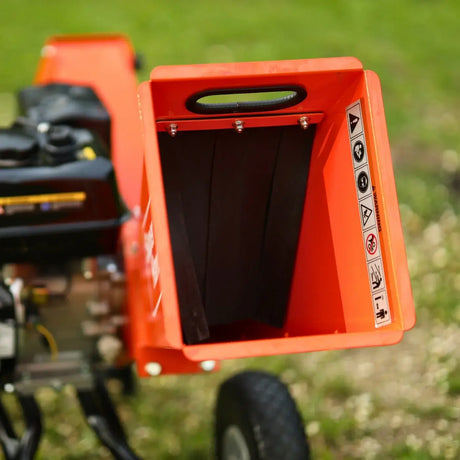
Check for blockages in the hopper or chute, as these can cause the machine to malfunction.
Listen for unusual noises like grinding or screeching, which often signal worn or damaged parts. Additionally, pay attention to any error messages or lights on the machine’s control panel, as these can provide specific clues about the issue.
Early detection of these warning signs can prevent more serious damage and keep your chipper running smoothly.

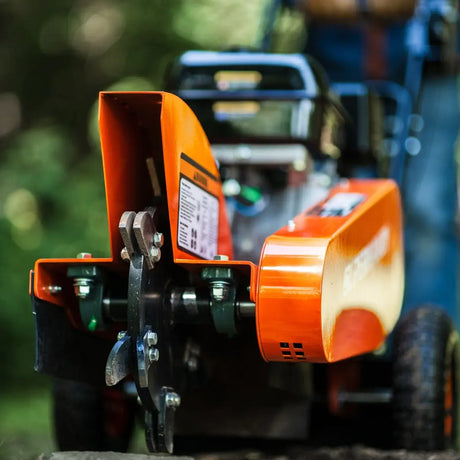
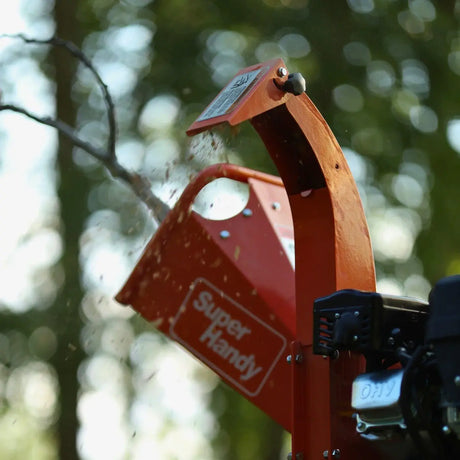
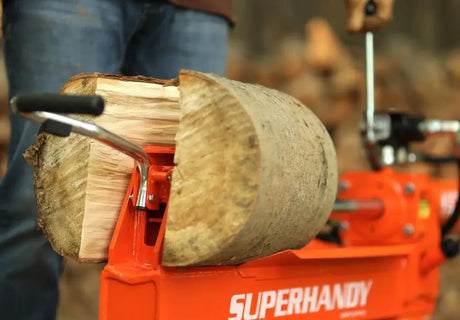
Inspecting and Maintaining Blades
Keeping your chipper blades in top condition is essential for clean cutting, reduced strain on the engine, and efficient operation. Routine blade inspection should be part of your regular maintenance schedule. Resolving this early will help you avoid bigger problems later.
Identifying Dull Blades
Dull blades force these heavy-duty machines to work harder, resulting in poor feed performance, excessive vibration, and louder operation. Telltale signs include:
- Slower feeding or jamming
- Jagged or shredded chips
- Grinding sounds while chipping
Inspect your blades every 10 to 20 hours of use. If they’re reversible, flip them before replacing. Always check the blade edge, mounting bolts, and overall balance.
Feeding dirty or gritty material (like sand-covered branches) can cause premature wear. Stick to clean, dry wood whenever possible.
Blade Replacement Guide
Replace chipped, cracked, or overly worn chipper blades immediately. Damaged blades can unbalance the rotor and reduce safety. Always:
- Follow your owner's manual for removal and installation
- Torque blade bolts properly
- Inspect anvil spacing and alignment
Properly balanced and securely mounted blades keep your chipper running safely and at optimum performance.
Sharpening Techniques
Sharpening your wood chipper blades correctly prolongs their life and improves chipping efficiency. Tips include:
- Maintain the original cutting angle (often 30°)
- Use a sharpening jig or belt sander for even results
- Avoid overheating the blade edge (it softens the steel)
- After sharpening, recheck blade balance
Loose blade bolts or improper angles can lead to vibration, excessive wear, or even safety hazards. Take your time, or consider using a pro sharpening service if needed.

Knife and Anvil Maintenance
Anvil Adjustment Tips
Proper anvil adjustment is crucial for maintaining optimal chipper performance. To adjust the anvil, start by consulting your user manual for specific instructions tailored to your machine. Generally, you’ll need to loosen the anvil bolts and adjust the anvil-to-knife clearance.
Use a feeler gauge to ensure the correct clearance, typically around 1/8 inch. Once the clearance is set, tighten the anvil bolts securely, but be careful not to over-tighten, as this can damage the anvil or knife.
Regularly checking and adjusting the anvil-to-knife clearance ensures that your chipper operates efficiently and prevents potential issues. Keeping the anvil properly adjusted will help maintain the machine’s cutting performance and extend its service life.
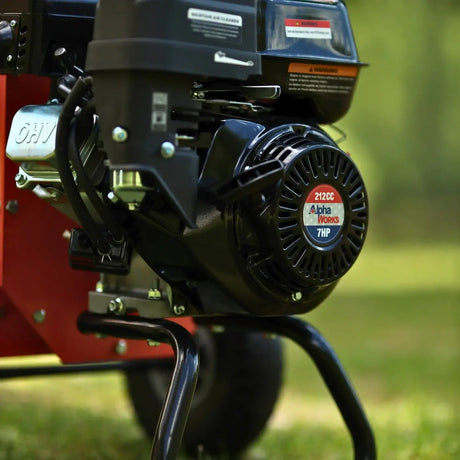
Addressing Engine Issues
Many wood chipper problems stem from the engine. A small engine requires regular upkeep to maintain smooth operation and fuel economy. Whether you’re dealing with a no-start issue or sudden power loss, these tips can help.
Choosing the right power source can help prevent recurring issues. See our electric vs. gas wood chipper comparison for pros, cons, and maintenance needs.
No-Start Problems
If your chipper won’t start, check:
- Fresh fuel: Old fuel gums up the carburetor
- Spark plug: Fouled or incorrectly gapped plugs are common culprits
- Oil level: Many engines have low-oil sensors that prevent startup
- Fuel cap gasket: A missing or cracked gasket disrupts fuel flow
- Safety switches: Ensure all guards and hoppers are securely closed
- Blocked: Ensure the machine is not blocked with debris before troubleshooting no-start problems
Use ethanol-free gas or treat your fuel with stabilizer if stored over 30 days.
Overheating Solutions
Engines overheat from poor ventilation, incorrect engine oil, or clogged cooling fins. To prevent it:
- Clean fins and housing regularly
- Use the recommended oil type for the season
- Avoid overloading the chipper or running it in direct sunlight for extended periods
- Power Loss Under Load
If your chipper bogs down when fed larger branches, these heavy-duty machines could be dealing with:
- A dirty air filter (replace or clean)
- A clogged carburetor
- Loose or slipping belts
- Low fuel or restricted flow
Check the throttle setting—it should be in the ‘RUN’ or ‘FULL’ position for best results. Cleaning the carburetor annually can prevent a lot of performance issues.
Belt and Clutch Maintenance
Your chipper's belts and clutch play a key role in power transfer. Without proper care, performance and safety decline quickly.
Checking Belt Tension
Check belt tension every 10-15 hours of use. Look for:
- Excess slack or fraying
- Glazing or cracking
- Excessive heat buildup
Proper belt tension ensures the cutting system receives enough power without stressing bearings or the crankshaft.
Clutch Adjustment Tips
A slipping clutch results in slow or inconsistent feeding. Follow your chipper's manual to:
- Check clutch spring tension
- Inspect clutch shoes for wear
- Adjust cable tension (if applicable)
Proper clutch performance prevents feeding issues and protects your machine.
Identifying Worn Belts
Worn belts reduce performance and strain the engine. Replace belts that show:
- Visible cracks or frayed edges
- Excessive stretching
- Thinning or uneven wear
Keep a spare belt on hand—it’s one of the most common emergency replacements.

Lubrication Essentials
Lubrication is vital for reducing friction and prolonging your chipper's service life. Greasing moving parts prevents metal-on-metal wear and protects against moisture.
Key Lubrication Points
Focus on:
- Bearings (wheel, rotor, feed)
- Feed rollers and pivot joints
- Chain systems (if applicable)
Check your owner's manual for intervals, typically every 10 hours or weekly for frequent users.
Choosing the Right Lubricant
Use a high-pressure, multi-purpose grease or 85W140 gear oil for gear-driven systems. Avoid mixing different greases, as it can cause breakdown.
Avoiding Common Mistakes
- Don’t skip grease points
- Don’t over-lubricate—too much attracts dirt
- Always clean fittings before applying new grease
Neglected lubrication is one of the top causes of premature wear.

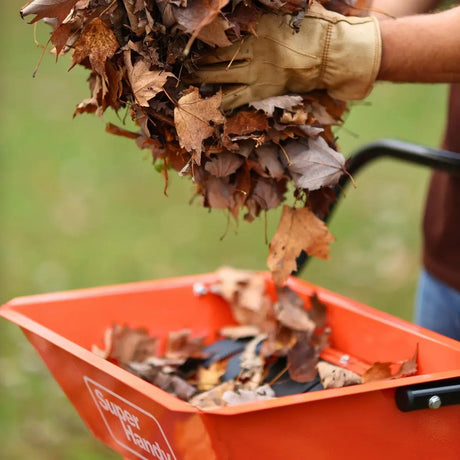
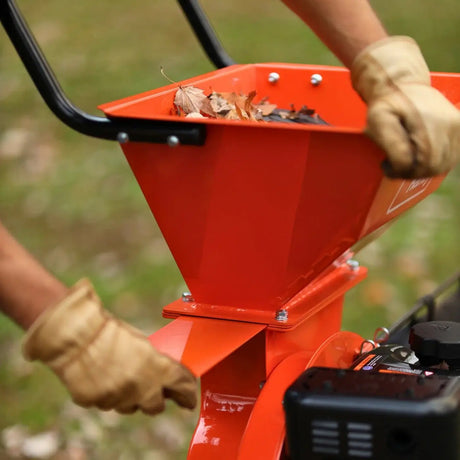
Troubleshooting Feed Problems
If your chipper won’t feed properly, don’t force the material in. Poor feeding usually indicates a mechanical or setup issue.
Slow or Weak Feeding
Check:
- Blade sharpness
- Belt tension and clutch engagement
- Wood type (dry or brittle wood reduces grip)
- Feed roller condition (on hydraulic units)
Adjust feeding speed and alternate soft with harder material to maintain flow.
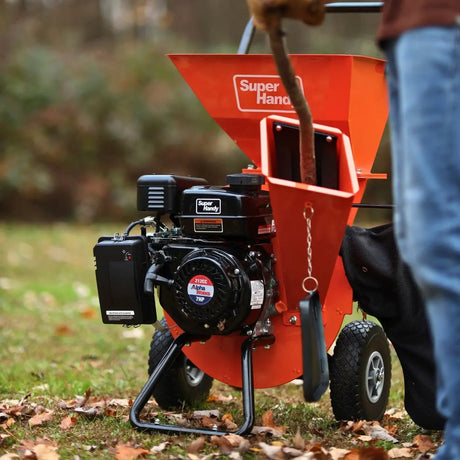
Clogging Solutions
Discharge clogs often stem from wet, stringy wood (vines, pine needles), overfeeding, or a blocked feed chute.
If you’re curious about handling wet material, check out our guide on wet wood in a wood chipper.
Clear blockages with a push stick—never your hands. Keep the feed funnel clean to avoid material backups.
Consistent Stalling
Check for:
- Damaged governor spring (controls engine RPM)
- Overfeeding or choking the intake
- Dirty carburetor or fuel filter
- Low hydraulic fluid (on hydraulic-feed units)
Stalling is usually preventable with better feeding practices and regular maintenance.
New to using this machine? Read our step-by-step guide on how to use a wood chipper safely and effectively.
Handling Vibrations and Noises
Unusual vibration or noise is often your first warning sign something’s off.
Vibration Causes
- Unbalanced or damaged blades
- Loose bolts or components
- Worn rotor bearings
Persistent vibration can loosen fasteners and damage the frame. Always address it quickly.
Noise Troubleshooting
- Grinding: Metal-on-metal contact (usually rotor or blade issue)
- Screeching: Dry or worn bearings
- Backfire: Possible flywheel key issue or ignition timing problem
Ensure the machine is not blocked with debris before proceeding with noise troubleshooting. Investigate abnormal sounds before proceeding with using the chipper again.
Balancing Blades
After sharpening or replacing blades, check balance. Unbalanced blades:
- Cause excessive vibration
- Stress the crankshaft and bearings
- Reduce chipper lifespan
Re-torque all blade bolts and follow blade spacing specs from your manual.
For more on reducing risk while fixing these problems, review our full wood chipper safety tips.
Ensuring Electrical System Reliability
From ignition switches to electric starters, modern wood chippers rely on functional electrical components for consistent operation.

Battery Maintenance
- Clean battery terminals and apply dielectric grease
- Check connections for tightness and corrosion
- Use a battery maintainer during storage
For electric chippers, use heavy-duty extension cords rated for the amperage. Undersized cords trip breakers and reduce performance.
Starter Cord Problems
If your pull-start won’t budge:
- Check for hydro-lock (from overfilled oil)
- Inspect the flywheel and recoil assembly
- Ensure nothing is jamming the rotor
Frayed or weak starter cords should be replaced before they snap under load.
Spark Plug Checks
Inspect spark plugs every 25-50 hours of use:
- Look for fouling, cracks, or worn electrodes
- Set the gap to the correct spec (check your manual)
- Replace with manufacturer-approved part numbers
A fresh spark plug ensures easier starting, better combustion, and improved fuel economy.
For comprehensive upkeep advice, visit our Wood Chipper Maintenance: The Ultimate Guide.
Summary
Wood chipper troubleshooting doesn’t have to be overwhelming. With regular maintenance, sharp blades, proper lubrication, and prompt attention to unusual symptoms, you can keep your chipper running safely and efficiently.
Routine inspection and a few simple fixes go a long way toward maximizing your machine’s performance and service life.