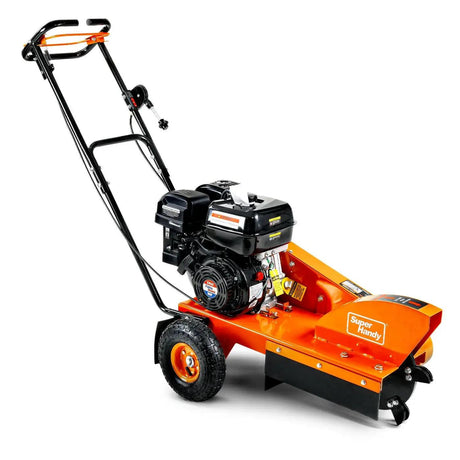
What Exactly Is a Wood Chipper?
Let’s Chat About It Over Coffee
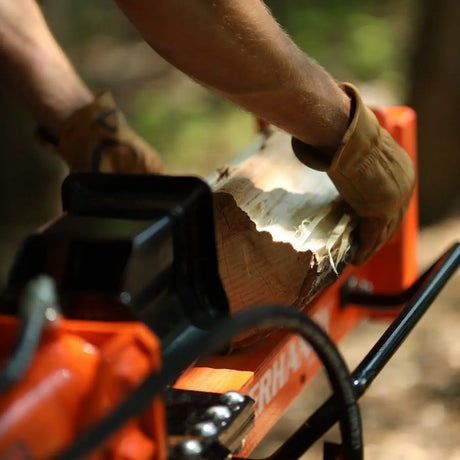
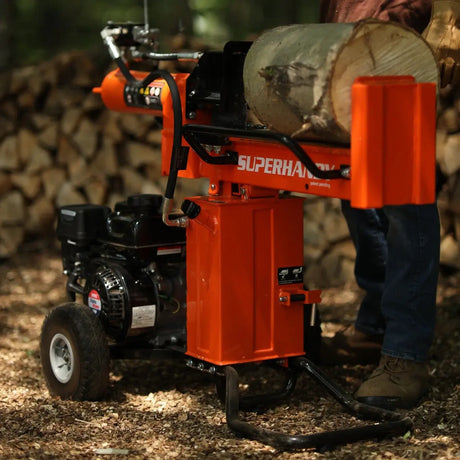
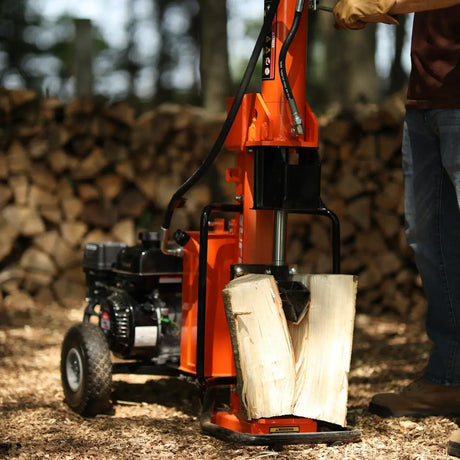
Alright, picture this: you’ve just finished trimming some trees or cleaning up the yard. Now you’re left with a mess — piles of branches, twigs, maybe a few small logs. You stare at it and think, “What now?”
That’s where a wood chipper comes in. And let me tell you — once you’ve used one, there’s no going back. It’s one of those machines that just makes sense. Instead of hauling all that brush away or burning it (which isn’t fun and definitely isn’t great for the environment), you run it through the chipper… and out comes neat, reusable mulch.
Honestly, it’s kind of magical.
So, What Does a Wood Chipper Really Do?
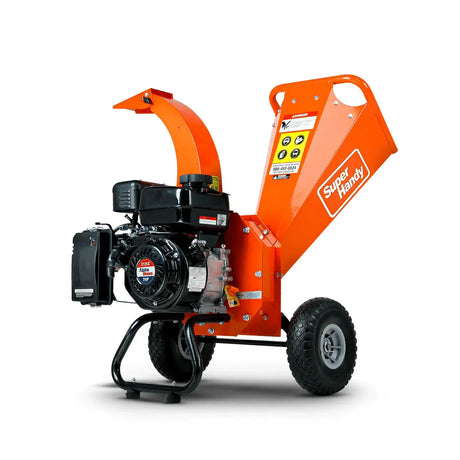
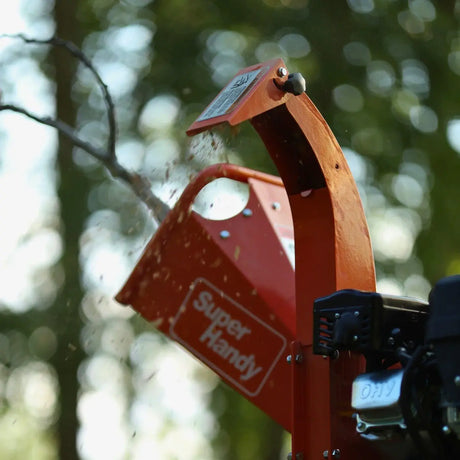
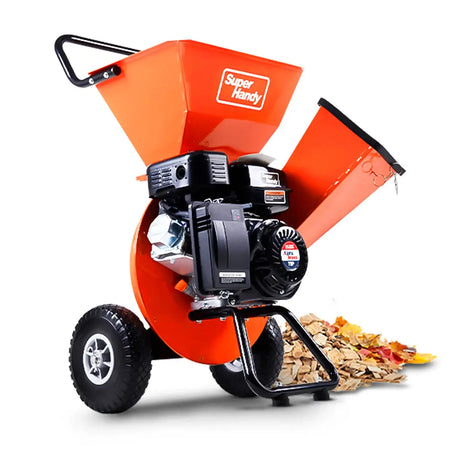
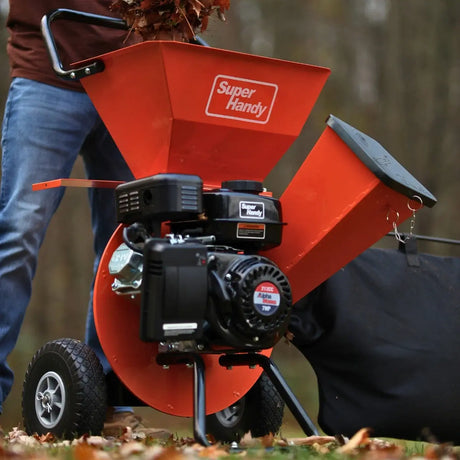
Think of a chipper like a big mechanical mouth that loves to eat branches. You feed in limbs, leaves, or yard waste — and it chews them up into small wood chips. Nice, clean, and easy to reuse.
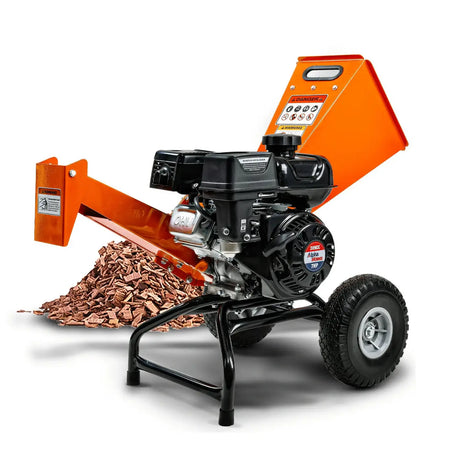
It all runs on an engine. Most are gas-powered, some are electric, and there are PTO versions for tractors. That engine spins a sharp set of blades (or sometimes hammers), and those do all the hard work — slicing, smashing, and shredding everything you feed it.
Why people love them:
- Homeowners: It’s the easiest way to turn yard waste into garden mulch — and skip the dump run.
- Landscapers: Saves tons of time and gives you fresh mulch right on the job site.
- Small farms or rural properties: Great for keeping land clear and making use of all that brush.
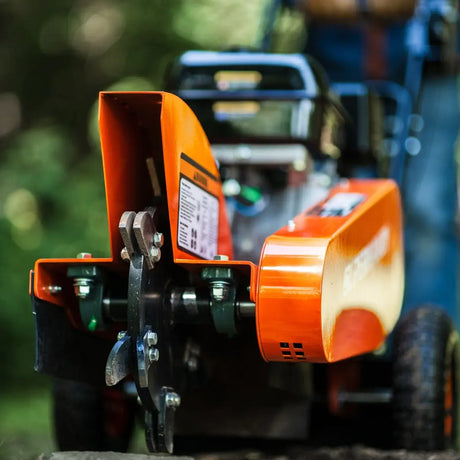
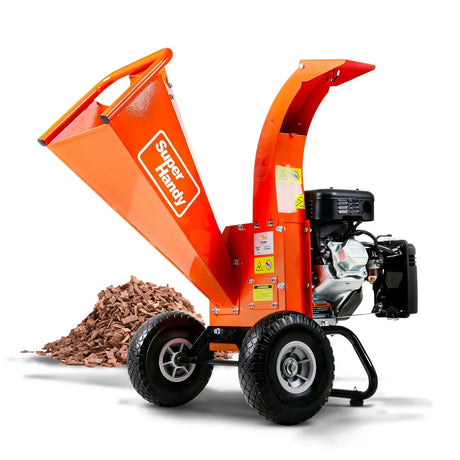
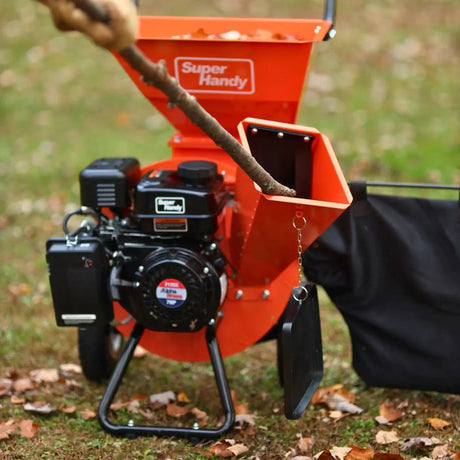
Let’s Peek Inside: The Key Parts
Wood chippers look pretty straightforward, but they’re clever machines under the hood. Here’s how they’re built:
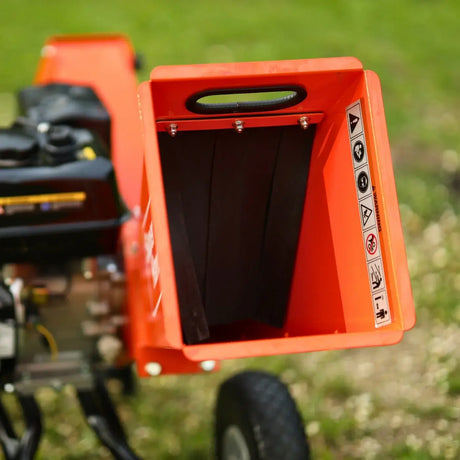
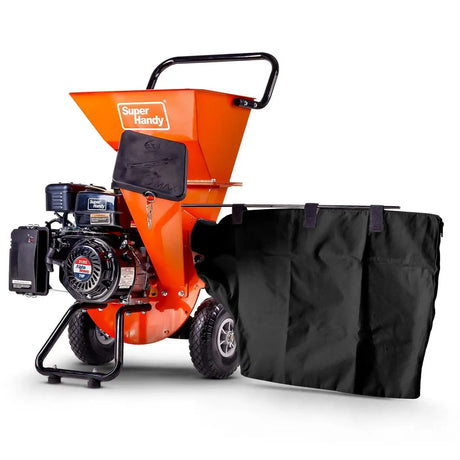
- Hopper: The funnel you feed everything into. Some models even have a separate side chute for thicker branches.
- Blades or Hammers: They spin fast and cut through wood like butter. Keep them sharp and they’ll treat you well.
- Anvil: A solid metal surface that helps the blades slice cleanly—think of it as the cutting board under your kitchen knife.
- Discharge Chute: The exit point for your chips. Some models let you aim it into a bin, tarp, or trailer.
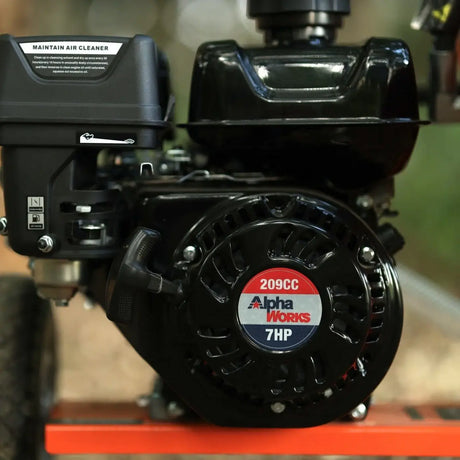
- Engine: The muscle behind it all. Gas engines offer mobility and strength, while electric models are quieter and ideal for smaller spaces. PTO models connect to your tractor.
How It All Comes Together — Step by Step
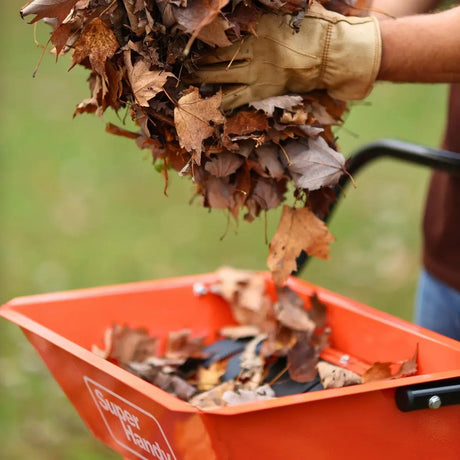
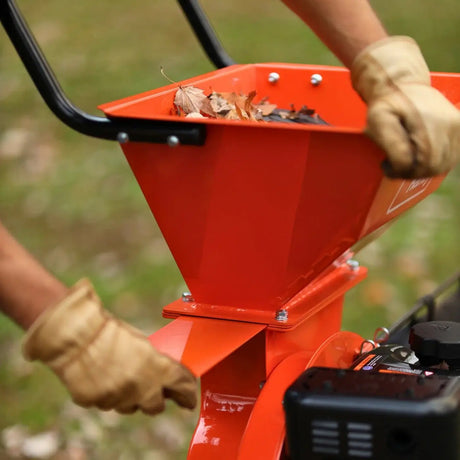
Step 1: Feed It
Drop in your branches or brush. Many chippers pull the material in on their own (self-feeding), while others use a hydraulic roller to push everything through.
Little tip from experience: Always feed the thicker end of the branch first for a smoother grab.
Step 2: The Chop
Once inside, the material meets the blade system. Depending on the type of chipper:
- Disk chippers: Use a spinning disk with knives to slice wood cleanly—like a deli slicer but tougher.
- Drum chippers: Crush and cut using a rotating drum for a more aggressive approach.
- Hammermill chippers: Use swinging hammers to pulverize softer material like leaves and brush.
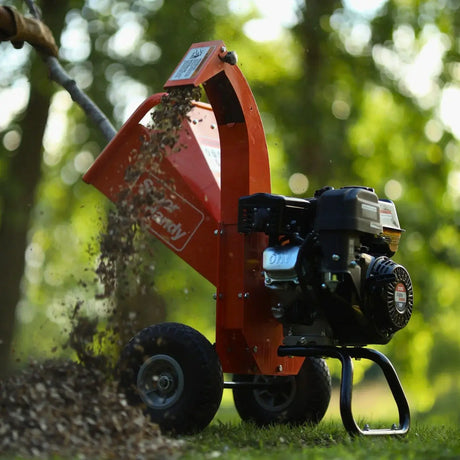
Step 3: Out Come the Chips
Once shredded, the chips shoot out the discharge chute. Some machines launch them several feet, while others let you aim into a bag or trailer.
Pro tip: If the chute clogs up, the wood might be too wet. Let it dry out for a day or two.
That’s the magic of a wood chipper—turning a jungle of debris into clean, useful mulch. Once you try one, it becomes a regular part of your yard routine.
Next up, I’ll walk you through the different types of wood chippers so you can figure out which one makes the most sense for your property and projects.

How to Choose the Right Wood Chipper for Your Yard or Business
Once you understand what a wood chipper does, the next step is figuring out which kind you need. There are a lot of options, but don’t worry—we’ll go through them together so you can find the right match without wasting time or money.
Electric vs. Gas — What’s the Right Fit for You?
Think of it like choosing between a quiet commuter car or a rugged pickup truck. Each has its place.
Electric Wood Chippers
- Quieter, cleaner, and perfect for small jobs
- Simply plug it in—no gas, no fumes
- Ideal for neighborhoods or small gardens
They do have limits, however. Most handle only branches up to about 2 inches thick, making them best for light pruning and leaf cleanup.
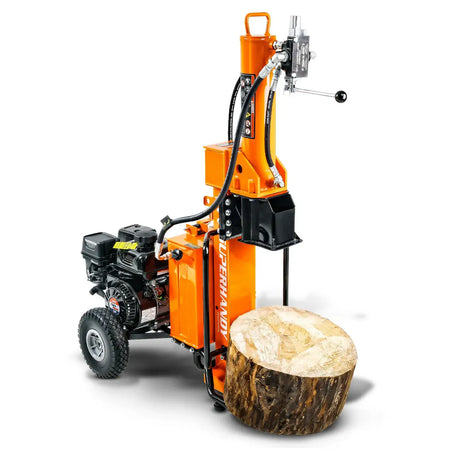
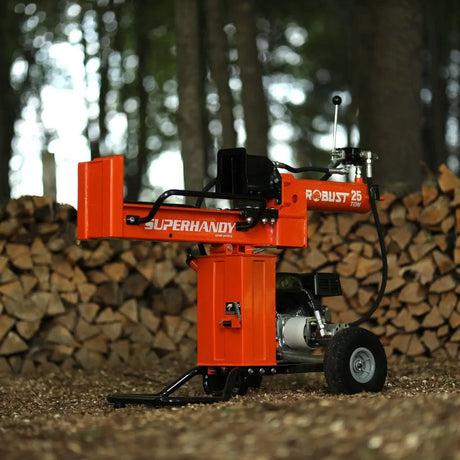
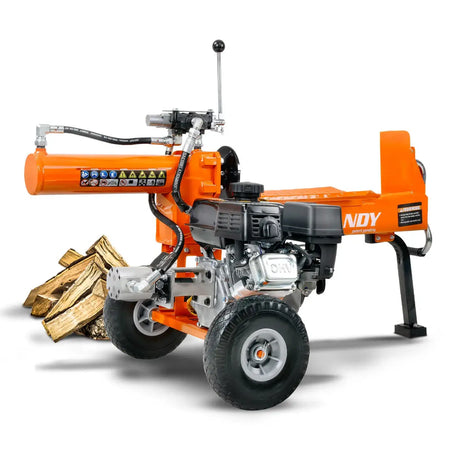
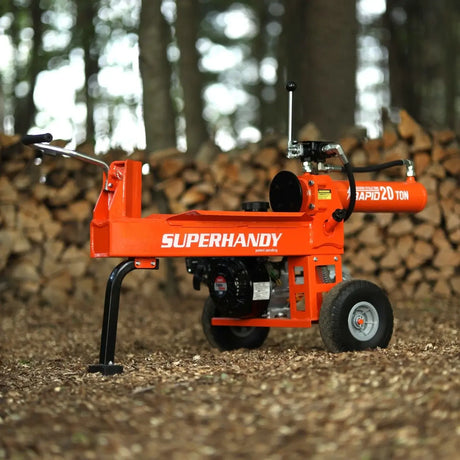
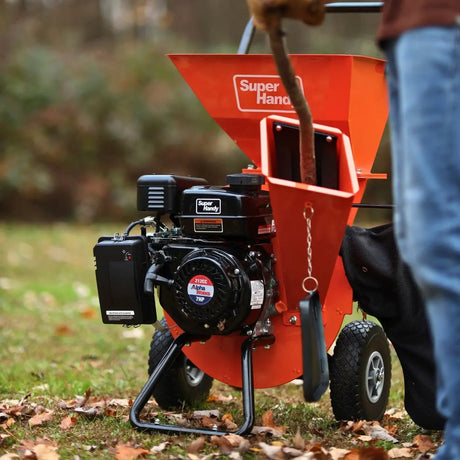
Gas-Powered Wood Chippers
- The muscle machines
- Handle thick branches, dense brush, and larger volumes
- Totally mobile for use anywhere on your property
They’re louder and require more maintenance (oil, gas, etc.), but if you’re doing regular yard work or managing a bigger space, they’re worth it.
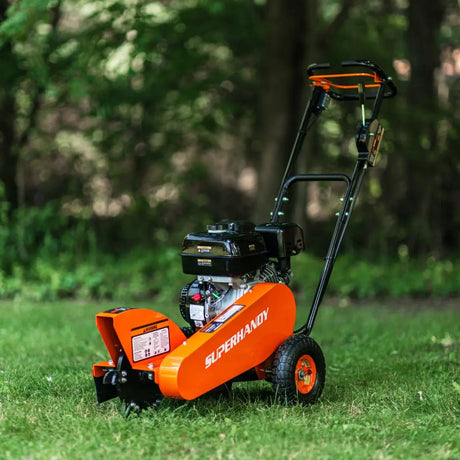
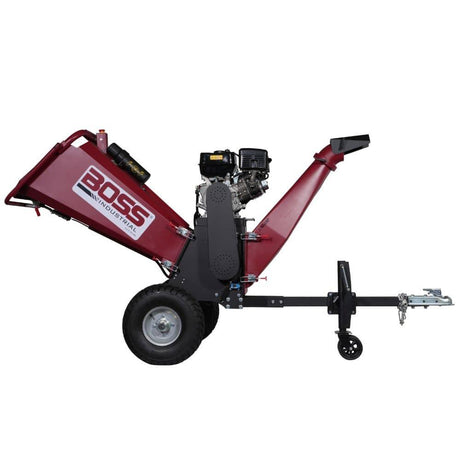
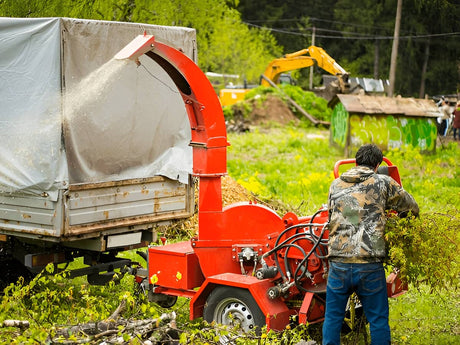
Electric vs gas wood chipper comparison
Tip from the shop: If your cleanup piles up fast—or if you hate stopping mid-job to unclog small machines—gas is the way to go.
PTO Chippers — If You’ve Got a Tractor, You’re in Business
PTO chippers don’t have their own engine. They connect directly to your tractor’s Power Take-Off (PTO) and borrow its muscle, meaning fewer moving parts to maintain and lots of power.
- Attach to the back of a tractor
- Usually need 15 to 50 horsepower to run smoothly
- Perfect for big properties, farms, orchards, and fence line cleanup
Note: Without a tractor, a PTO chipper isn’t a standalone machine, and they aren’t as portable as gas models.
Good to know: Some PTO chippers require the tractor’s PTO to spin at a certain speed (usually 540 RPM), so check compatibility.

Let’s Talk Cutting Styles: Disk, Drum, and Hammermill
This is where the magic happens—how your chipper actually processes the wood.
Disk Chippers
- Use a spinning flywheel with blades
- Slice material into clean, consistent chips
- Great for both homeowners and professionals
Drum Chippers
- Feature a big, rotating drum that aggressively pulls material in
- Handle larger limbs and higher volumes
- Popular with commercial landscapers and rental yards
Hammermill Chippers
- Use swinging hammers instead of blades
- Best for soft materials like leaves, garden waste, and vines
- Produce shredded mulch rather than uniform wood chips
Tip: If you’re mostly dealing with brush and small green branches, a hammermill might be more effective than a bladed chipper.
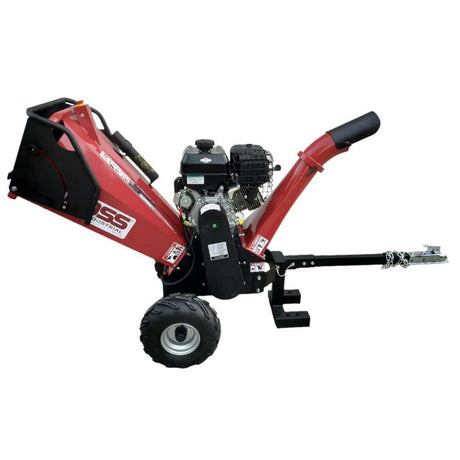
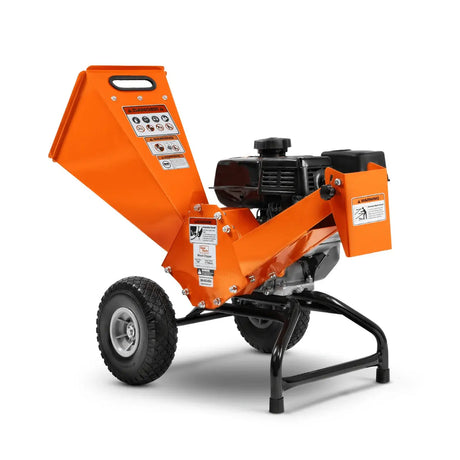
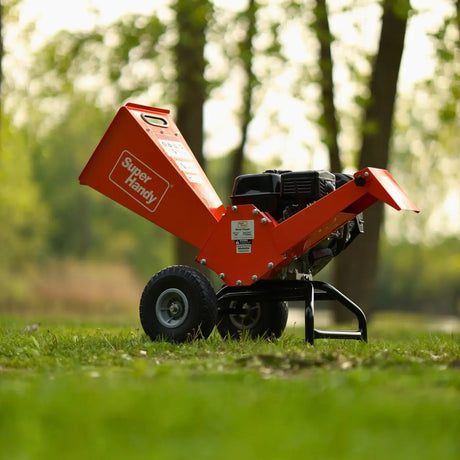
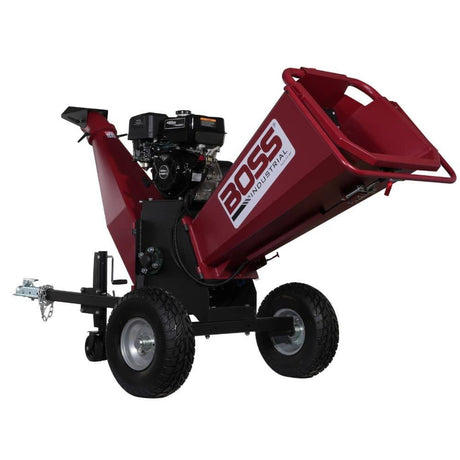
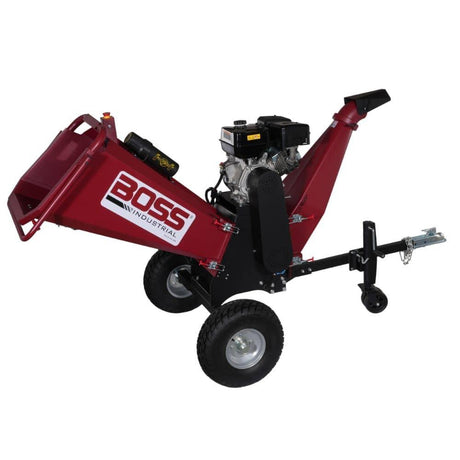
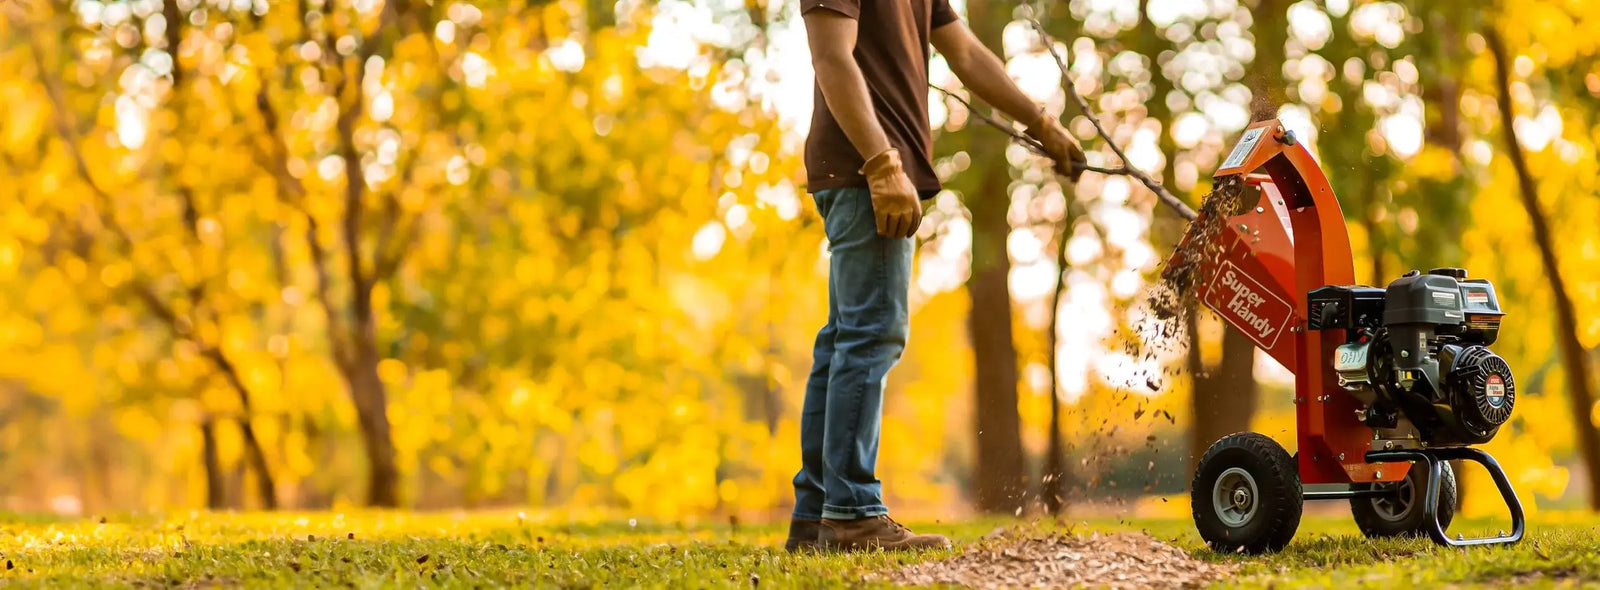
What a wood chipper is and how it works
Sizing It Right: How Big Should You Go?
Here’s a simple breakdown:
Small Chippers (Up to 2.5")
- Perfect for light cleanup jobs
- Usually electric or small gas models
- Easy to move, store, and use
Check out 2-Inch Wood Chippers
Medium Chippers (3"–5")
- The sweet spot for most property owners
- Great for mixed yard waste—hardwood, softwood, green or dry
- Typically gas-powered and versatile
Check out 3-Inch Wood Chippers
Check out 4-Inch Wood Chippers
Check out 5-Inch Wood Chippers
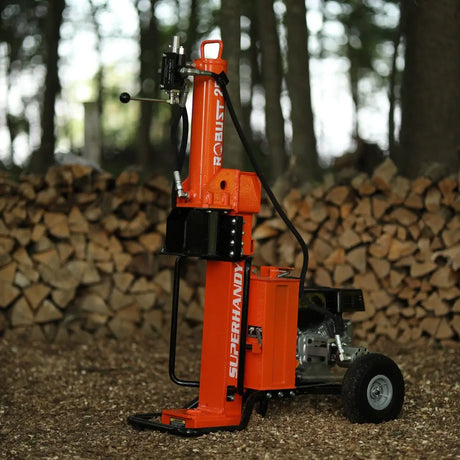
Large Chippers (6" and up)
- Built for commercial use or large landowners
- Handle thick limbs, dense hardwood, and storm cleanup
- Usually powered by big gas engines or tractors
Check out 5-Inch Commercial Wood Chippers
Check out 5-Inch Commercial Wood Chippers
Little story for you: One customer with a small orchard started with a 2-inch electric chipper and quickly upgraded to a 5-inch gas model after just one weekend of nonstop feeding. Now he chips everything once a month in half the time.
Choosing the right chipper isn’t just about power—it’s about your usage, the material you’re chipping, and how much work you want to do.
Up next, I’ll cover key buying factors like blade quality, portability, and safety to help you feel 100% confident in your choice.

How to Pick the Right Wood Chipper
Choosing a wood chipper can feel like a big decision. Don’t stress—I’ve helped dozens of folks find their match, and it’s easier than it seems. Let’s review the key factors:
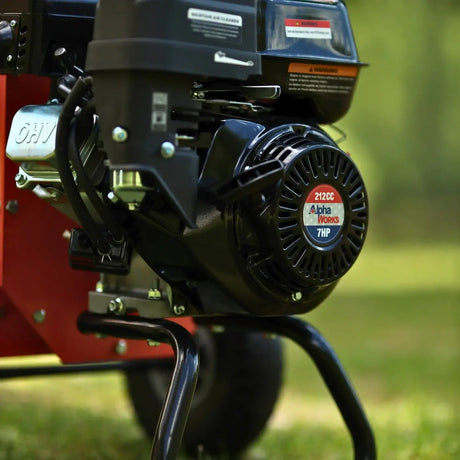
Power: How Much Muscle Do You Really Need?
The engine is the heart of the chipper, and not all engines are created equal.
Light Jobs
For tidying up twigs and light branches:
- Electric models (1–2.5 HP) are ideal
- They’re quiet, clean, and perfect for smaller yards
Medium Workloads
If you’re handling a mix of branches or storm debris:
- Gas engines with 5–10 HP (around 150–300cc) work well
- Great for mid-sized yards or regular weekend cleanups
Heavy-Duty Tasks
For thick logs or extensive land clearing:
- 12–20 HP gas models (300–500cc) provide serious power
- Ideal for landscapers or frequent outdoor work
Commercial Use
For business or dense land clearing:
- Go big: 25+ HP, PTO-driven, or large-frame gas machines
- These handle 6"+ branches with ease

Tip from me: When chipping hardwood like oak, don’t skimp on power—aim for at least 10 HP.
Branch Size: Don’t Overlook This!
Each chipper is rated for a maximum branch diameter. Exceed that and you risk jamming or damaging the blades. Here’s a quick guide:
- Up to 2.5" → Ideal for light yard trimming
- 3" to 5" → A sweet spot for most property owners
- 6" and above → Best for professional use
Quick tip: Even if a chipper can technically handle 6-inch branches, check the feed system. A weak feed may require extra manual effort.
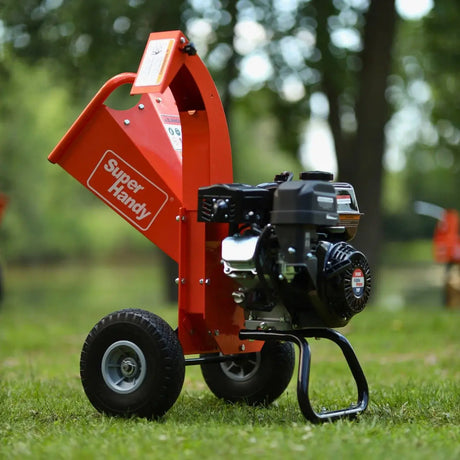
Portability: Can You Move It Easily?
Some chippers are heavy, so choose one that fits your setup.
Push Models
- Lightweight and simple
- Great for driveways and patios
Wheeled Chippers
- Easy to roll around
- Handy for larger yards or job sites
Towable Chippers
- Hitch them to your truck or ATV
- Best for pros or big property owners
PTO Chippers
- Connect to your tractor
- Built for large fields, orchards, and farms
Helpful tip: If you move your chipper around a lot, look for one with pneumatic tires and a balanced frame for easier handling.
Blades Matter: Keep Them Sharp
Sharp blades are essential—a dull chipper is slow, noisy, and frustrating.
Why Sharp Blades Matter
- Clean cuts = faster chipping
- Less strain on the engine
- Fewer clogs and jams
Many quality chippers use hardened steel or carbide-tipped blades that stay sharp longer, though regular maintenance is still required.
When to Sharpen or Replace
- Light touch-up: Every 25–30 hours of use
- Deep sharpening or flipping reversible blades: Every 100 hours
- Replace if cracked, chipped, or worn
Pro tip: Keep an extra set of blades handy so you can swap them mid-job instead of waiting for a resharpen.
Don’t Skip Safety Features
Safety is essential when operating a wood chipper.
Look for:
- Angled hoppers to prevent kickback
- Reverse feed options for clearing jams
- Large emergency stop buttons
- Feed assist systems (like hydraulic rollers)
Types of Feed Systems
- Gravity-fed – Simple but may require extra effort
- Hydraulic rollers – Pull branches in smoothly for safer operation
Friendly reminder: Always stand to the side when feeding branches and test the emergency stop before every use.
Now you’ve got the full picture—from engine size to safety features. Picking the right chipper is about knowing your needs, usage frequency, and the material you’ll handle.
Next, I’ll explain how to use a chipper safely and efficiently from start to finish.
How to Safely Use a Wood Chipper Without Stressing Out
For step-by-step instructions on operating a chipper like a pro, check out our complete wood chipper usage guide.
Let’s talk safety. Wood chippers are powerful machines, so a few extra precautions can prevent accidents. Here’s how to set up and use your chipper safely.

Start With a Quick Safety Check
Before firing up your chipper, take five minutes for a walkaround—like checking your truck before a road trip. This simple check can save you a lot of trouble later.
Check These Before You Start:
- Blades: Ensure they are sharp and securely in place.
- Belts: Look for cracks, fraying, or slack. Replace if worn.
- Fuel & Oil Levels: Always top up to avoid engine damage.
- Air Filter: Clean or replace if it’s caked with dust.
Pro Tip: If you use your chipper often, check the blades every 25–30 hours of use—it’s like sharpening your kitchen knives.
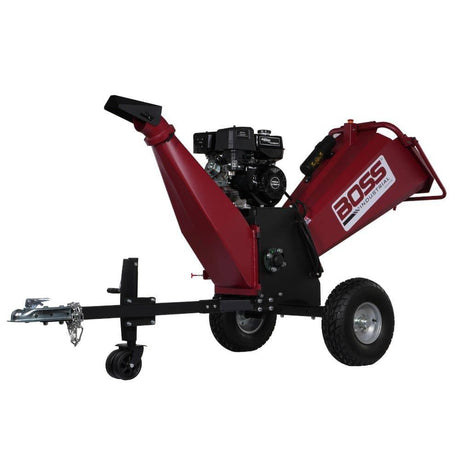
Wood chipper safety guidelines
Set Up Your Work Area the Smart Way
Give yourself enough room to work—clear 10 feet around the machine and ensure the ground is level.
Make Sure To:
- Level the Ground: Avoid sloping surfaces.
- Clear the Area: Remove rocks, hoses, or any tripping hazards.
- Keep People and Pets Away: Maintain a 30-foot radius.
- Point the Chute Wisely: Aim away from breakable objects.
Pro Tip: Use cones or signs if working near sidewalks or roads.
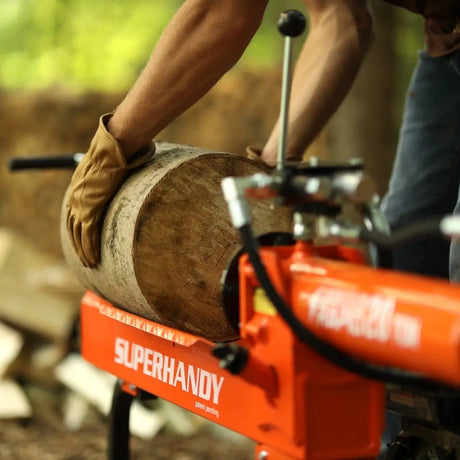
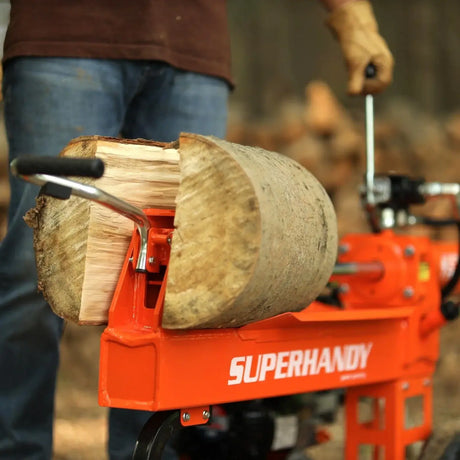
Let the Machine Do the Work
Once the chipper is on, let it run. Don’t force material in—guide it instead.
Feeding Tips:
- Feed Butt-End First: The thicker end offers a better grip.
- No Leaf Piles: Avoid overloading with too many soft greens; mix in dry branches.
- Stand to the Side: Always be positioned safely in case of kickback.
- Use a Push Stick: If something gets stuck, use a stick—not your hands.
Pro Tip: For long branches, let the chipper pull them in rather than pushing.
Avoid Kickbacks and Jams
Kickback can occur if you force oversized limbs or use dull blades.
Here’s How to Avoid It:
- Don’t jam oversized limbs—cut them down first.
- Avoid wood containing rocks or metal.
- Keep blades sharp.
If It Jams:
- Shut off the engine.
- Wait until everything stops spinning.
- Disconnect the spark plug or power source.
- Clear debris using a stick or tool (never your hands).
Pro Tip: If jamming persists, let wet wood dry for a day or two before chipping again.
Suit Up: Gear That Keeps You Safe
Wear appropriate safety gear to protect yourself.
Must-Have Safety Gear:
- Safety Goggles or Face Shield: Protect your eyes from flying chips.
- Heavy-Duty Gloves: Prevent splinters without being too loose.
- Ear Protection: Essential for gas models due to high noise levels.
- Sturdy Clothing: Long sleeves and pants with no loose accessories.
Pro Tip: A dust mask can be a game changer if you’re chipping for hours, especially on dry days.
Following these steps will help your chipper run smoothly, last longer, and most importantly, keep you safe.
Next, I’ll cover how to maintain your chipper like a pro.
Wood Chipper Maintenance: How to Keep It Running Like New
After using your wood chipper—whether for storm cleanup or regular yard work—it’s time to take care of it. Proper maintenance keeps your machine humming and prevents costly repairs.
Here’s a simple maintenance routine:
Stay Ahead with a Simple Maintenance Routine
Think of maintenance like brushing your teeth: small, regular tasks can prevent big problems later.
Three Basics You Can’t Skip:
1. Oil Changes (Every 25–50 Hours):
- Clean oil is critical for gas engines. Dirty oil can cause overheating and wear.
- Follow your manual’s recommendations, and consider synthetic oil in extreme conditions.
Pro Tip: Change your oil before a big job, much like you’d change your truck’s oil pre-trip.
2. Blade Sharpening (Every 25–30 Hours):
- Dull blades clog and strain the engine. Use a grinding wheel or sharpening stone.
- If you have reversible blades, flip them before opting for a replacement.
Pro Tip: Keep an extra set of blades handy for a quick swap during a job.
3. Air Filter Cleaning (Every 10–20 Hours):
- A clogged air filter restricts airflow and chokes the engine.
- Clean with a soft brush or compressed air, and replace as needed.
Pro Tip: If you work in dusty conditions, clean the filter more frequently.
Troubleshooting: When Things Don’t Go as Planned
Even a well-maintained chipper can have hiccups. Here are some common issues and fixes:
Won’t Start? Try This:
- Fuel: Ensure the tank is full and the fuel is fresh.
- Spark Plug: Check for fouling or looseness; clean or replace as needed.
- Carburetor: If gummed up, use carb cleaner or consult a mechanic.
Pro Tip: Before storing for winter, add a fuel stabilizer to prevent issues in spring.
Starts Then Stalls? Feels Sluggish?
- Air Filter: Clean a clogged filter.
- Fuel Line: Check for kinks or blockages.
- Carb Settings: A tune-up might be needed.
- Dull Blades: Re-sharpen if the machine is overworking.
Pro Tip: If the engine revs up and down, try swapping the fuel and cleaning the carburetor.
Clogging All the Time?
- Wet Wood: Damp wood gums up the blades.
- Too Much At Once: Feed branches one at a time.
- Dull Blades: Ensure blades are sharp for smoother operation.
To safely clear a clog:
- Turn off the engine.
- Disconnect the spark plug or unplug if electric.
- Wait until all parts have stopped.
- Use a stick or scraper to remove the debris (never your hands).
For in-depth tips on upkeep, see our ultimate maintenance guide for wood chippers.
Pro Tip: Let fresh-cut wood dry for a couple of days before chipping.
Taking care of your chipper isn’t rocket science—it’s about staying ahead of wear and tear. A few minutes of maintenance can save you from expensive repairs later.
Wood Chipper FAQs: Real Answers from Someone Who’s Been There
Here are answers to some of the most common questions about wood chippers:
What Size Wood Chipper Do You Really Need?
Bigger isn’t always better—but going too small can be a mistake. It depends on your yard size, how often you chip, and the type of material.
Up to 2.5 inches:
- Great for seasonal cleanups.
- Ideal for twigs, trimmings, and softwood.
3 to 5 inches:
- The sweet spot for most pros and DIYers.
- Handles storm debris, thicker limbs, and some hardwood.
6 inches and up:
- Commercial territory.
- Best for landowners, tree service professionals, or serious brush clearing.
Pro Tip: For hardwood like oak or maple, use at least 10 HP for sufficient power.
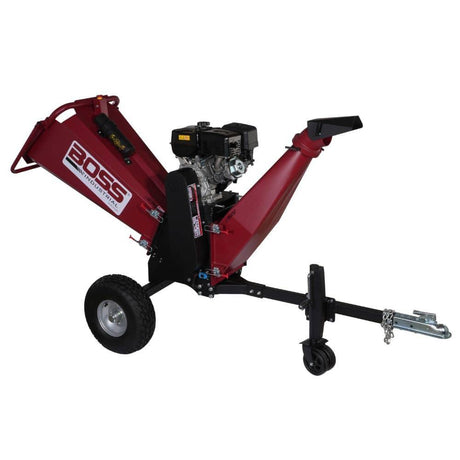
We have wood chippers of all sizes
Can You Chip Wet or Green Wood?
Short answer: Yes. Long answer: It’s not ideal.
Wet wood clogs easier, produces stringy chips instead of crunchy mulch, and is harder on the engine. If you must chip green wood:
- Use a higher-powered gas or PTO model.
- Alternate between dry and wet branches.
- Let fresh wood sit for a day or two to improve performance.
Pro Tip: For leaves, vines, or soft brush, a hammermill chipper is a better choice.
How Often Should I Sharpen the Blades?
Sharp blades make all the difference. Follow this simple rule:
- Light sharpening every 25–30 hours of use.
- Deep sharpening or flipping reversible blades every 100 hours.
Watch for stringy chips, slow processing, or increased strain on the engine as signs that your blades need attention.
Pro Tip: Keep an extra set of blades in the garage for quick swaps during a job.
PTO vs. Gas-Powered: Which Should You Choose?
If you have a tractor, you might consider a PTO chipper; otherwise, gas-powered chippers are more flexible.
PTO Chippers:
- Powered by your tractor, so no separate engine maintenance.
- Generally stronger—great for farms and large properties.
- Less portable, as they require a compatible tractor.
Gas Chippers:
- Self-contained and easy to move.
- Available in a wide range of sizes—from compact to commercial-grade.
Pro Tip: If you work on a farm or rural land and already own a tractor, a PTO chipper is a solid investment. Otherwise, go with a gas-powered model.
What’s the Right Way to Stay Safe with a Wood Chipper?
Wood chippers are amazing but require respect. Follow these safety guidelines:
- Wear safety goggles or a face shield.
- Use snug, heavy-duty gloves.
- Protect your ears, especially with gas models.
- Wear long sleeves and pants, and avoid loose clothing.
On the job site:
- Keep people and pets at least 30 feet away.
- Set the machine on level ground.
- Point the chute away from vehicles, windows, and people.
When feeding branches:
- Always feed butt-end first.
- Let the chipper pull it in—do not shove.
- Use a stick instead of your hands if something gets stuck.
Know your emergency procedures:
- Locate and test the shut-off switch before each use.
- If the chipper jams, kill the engine, wait until everything stops, and disconnect power before clearing debris.
Pro Tip: Don’t chip alone—having someone nearby is always safer.
Final Thoughts: Keep It Simple, Keep It Safe
- Choose the chipper that fits your workload.
- Keep the blades sharp.
- Stay on top of maintenance.
- Use proper feeding techniques.
- Always prioritize safety.
Got a question I didn’t cover? Feel free to reach out—I’ve helped hundreds find and use their chippers, and I’d be glad to help you too.